Die ist eine Anleitung zum Gebrauch und Umgang von Laminierharzen und Glasgewebe. Alles ist als Anhaltspunkt zu sehen und kann von Modell zu Modell natürlich unterschiedlich sein.
ACHTUNG: Bitte immer Schutzhandschuhe tragen und nach dem Arbeiten mit Harzen/Trennmitteln die Hände gründlich waschen. Sicherheitshinweise und Datenblätter beachten!
Benötigte Komponenten:
- Einmalhandschuhe
- Zeitungspapier
- Papiertücher/Küchenrolle
- Becher
- Pinsel
- Digitalwaage (Grammgenau)
- Trennmittel (z.B. Wachs, PVAC usw.)
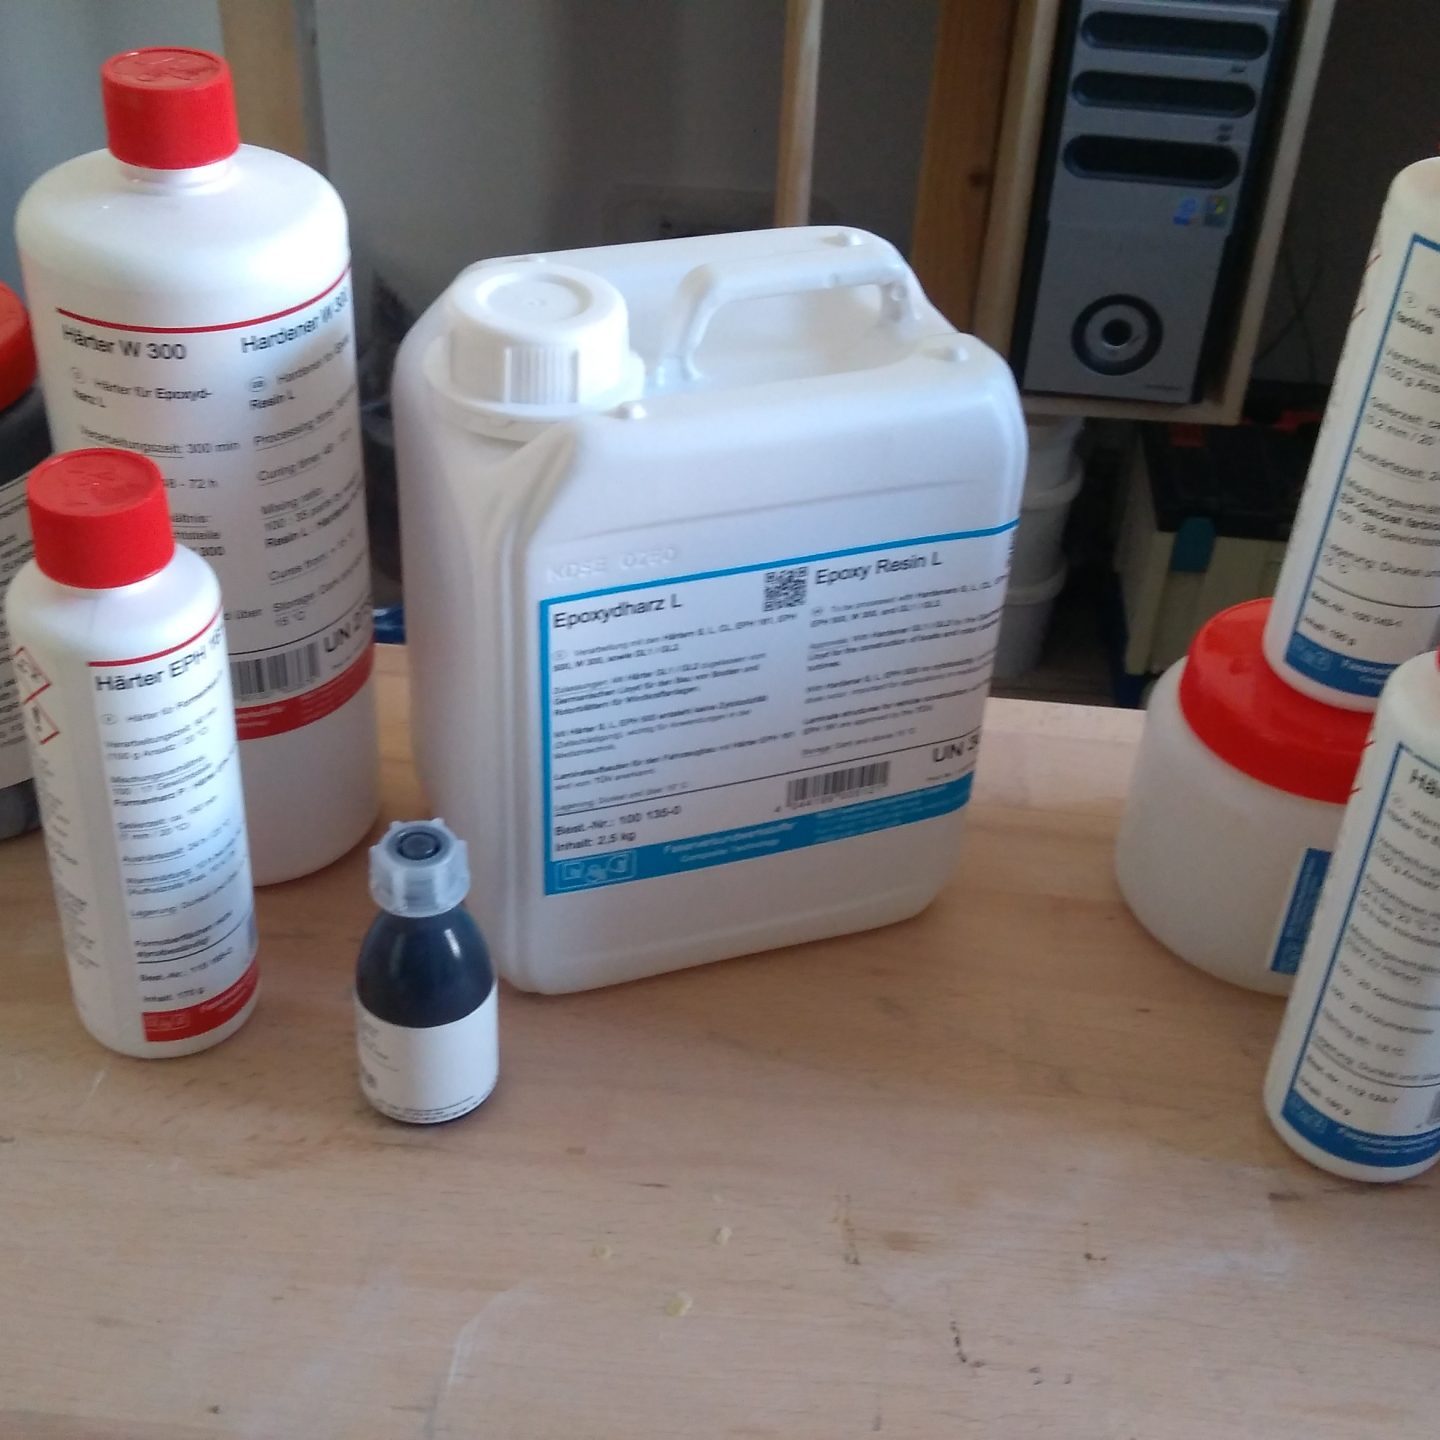
- Laminierharz
- Oberflächenharz (Gelcoat)
This is a guide for the use and handling of laminating resins and fiberglass. Everything should be considered as a guideline and may naturally vary from model to model.
CAUTION: Please always wear protective gloves and wash your hands thoroughly after working with resins/release agents. Follow safety instructions and data sheets!
Required components:
- Disposable gloves
- Newspaper
- Paper towels/kitchen roll
- Cup
- Brush
- Digital scale (gram-precise)
- Release agent (e.g., wax, PVAC, etc.)
- Laminating resin
- Surface resin (gelcoat)
Vorbereitung der Urmodelle
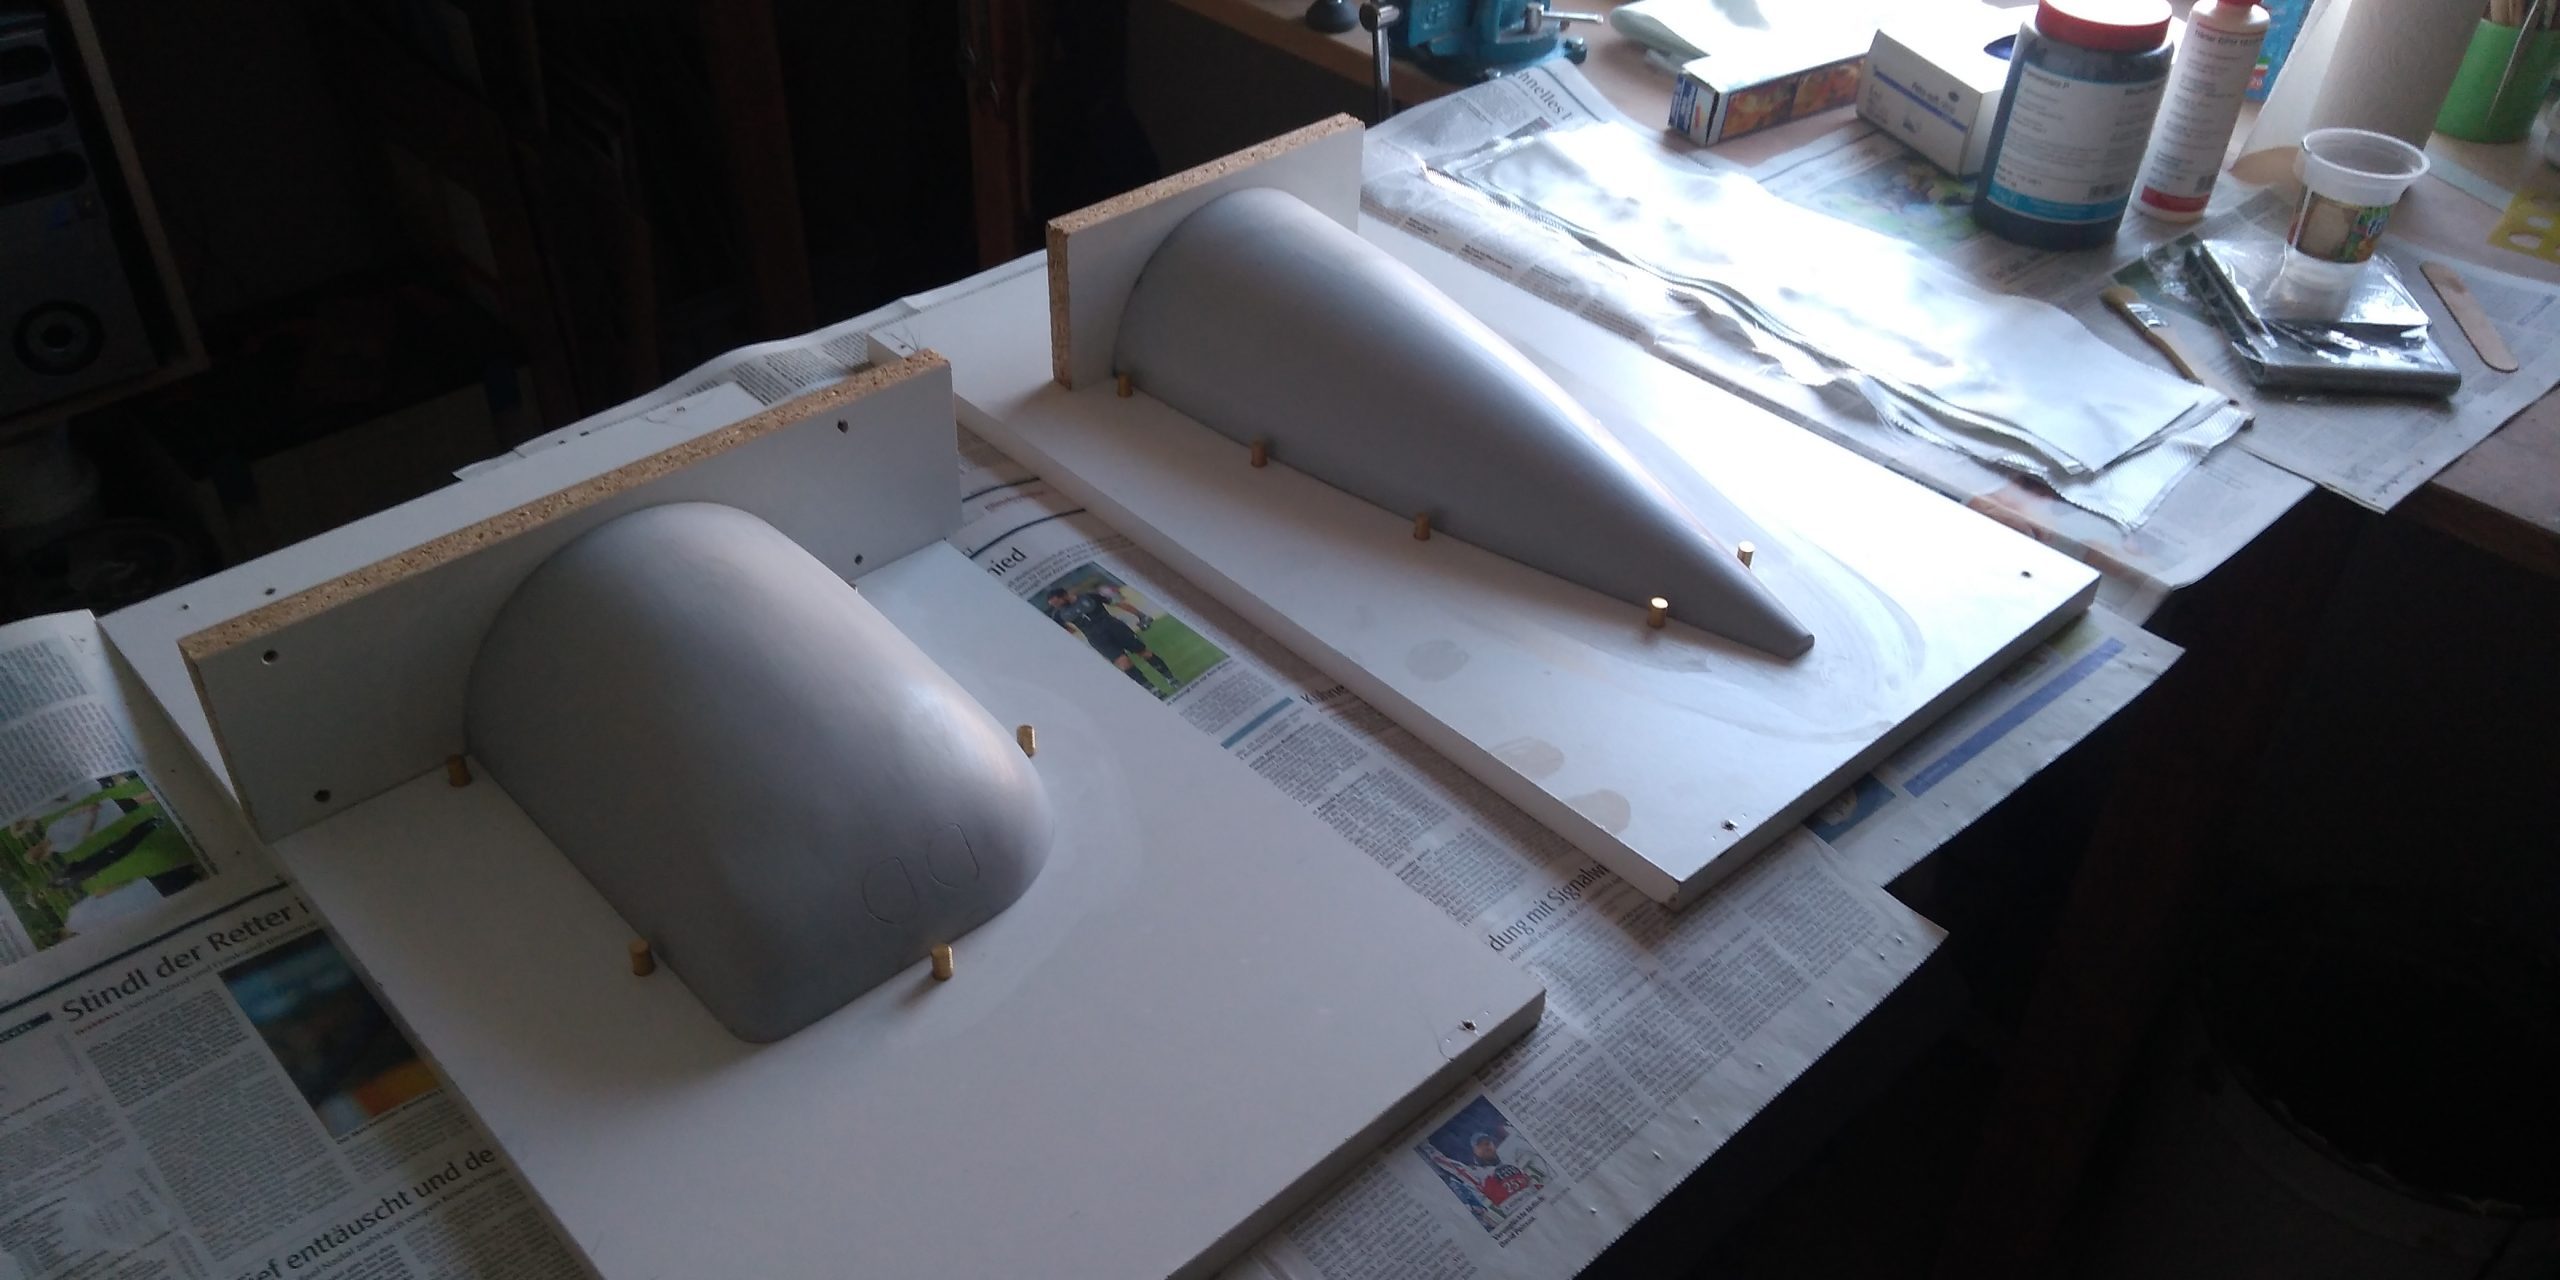
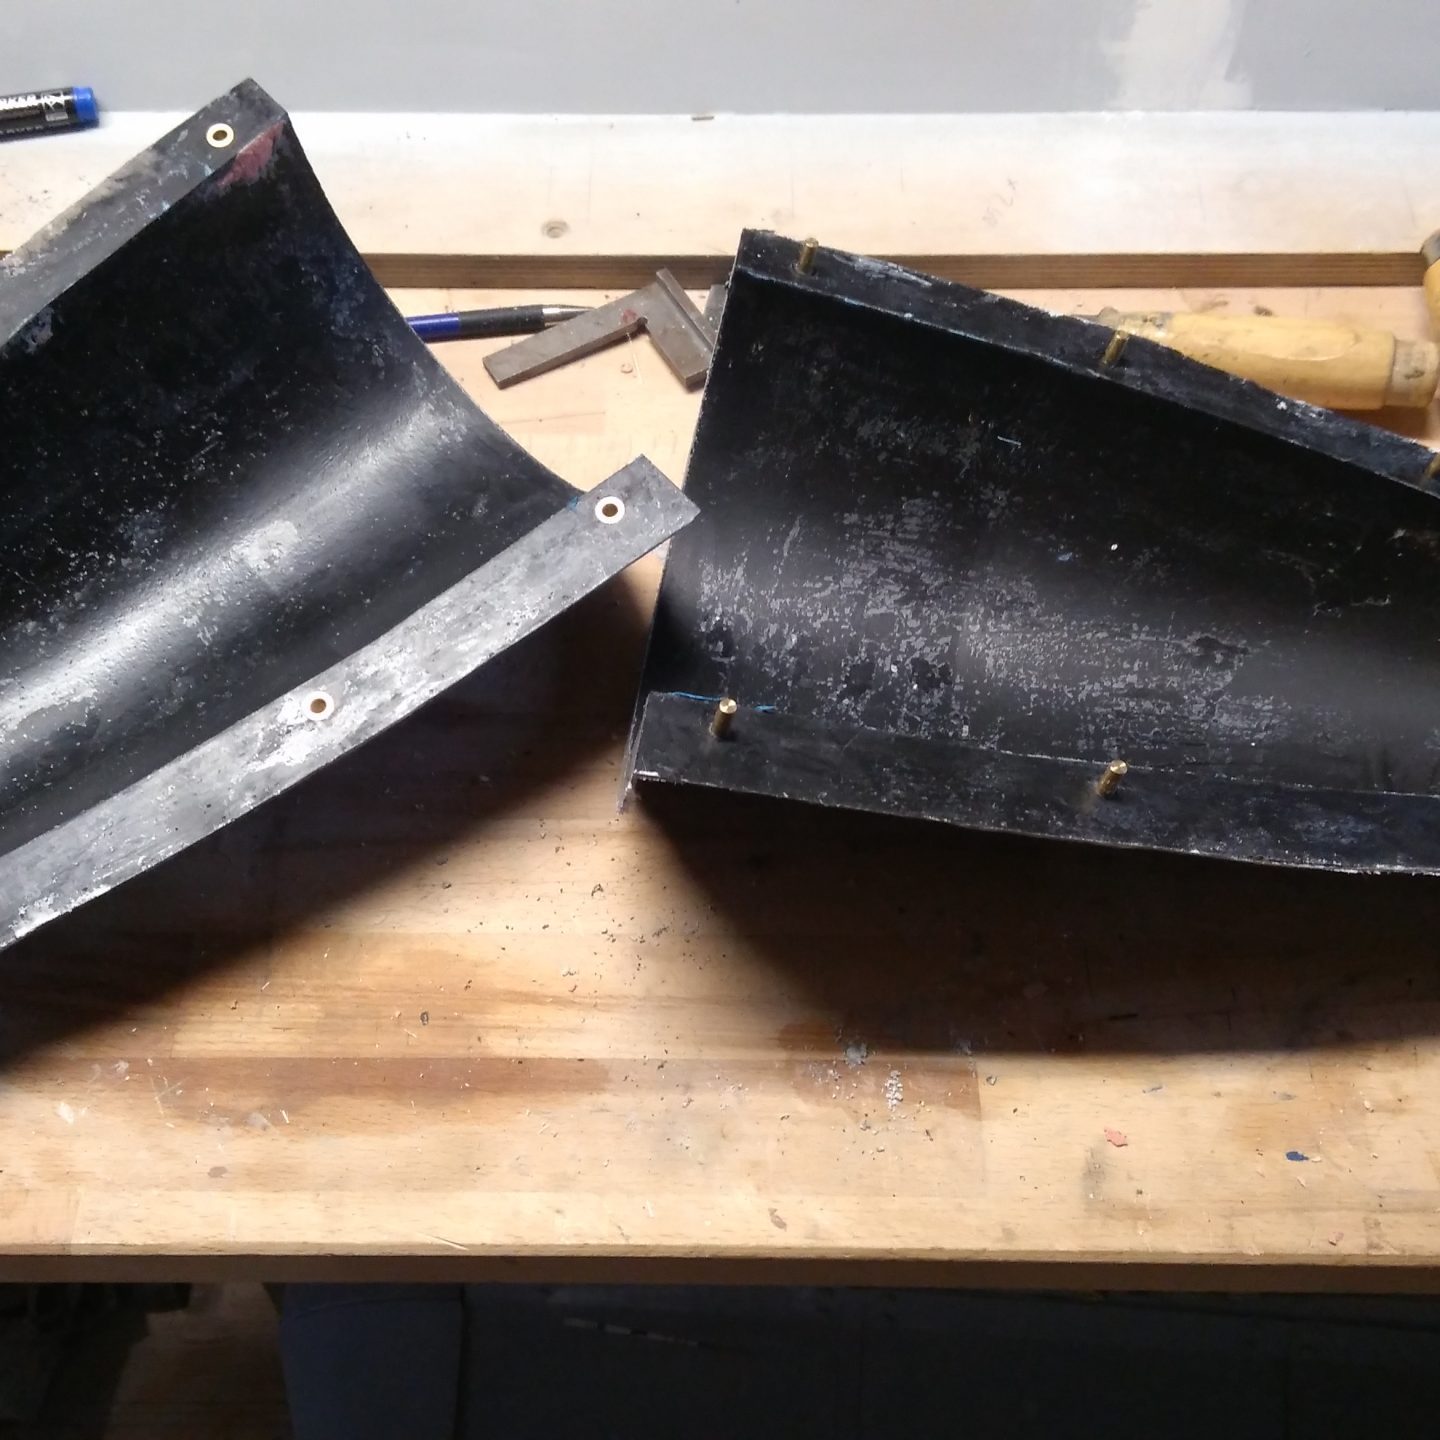
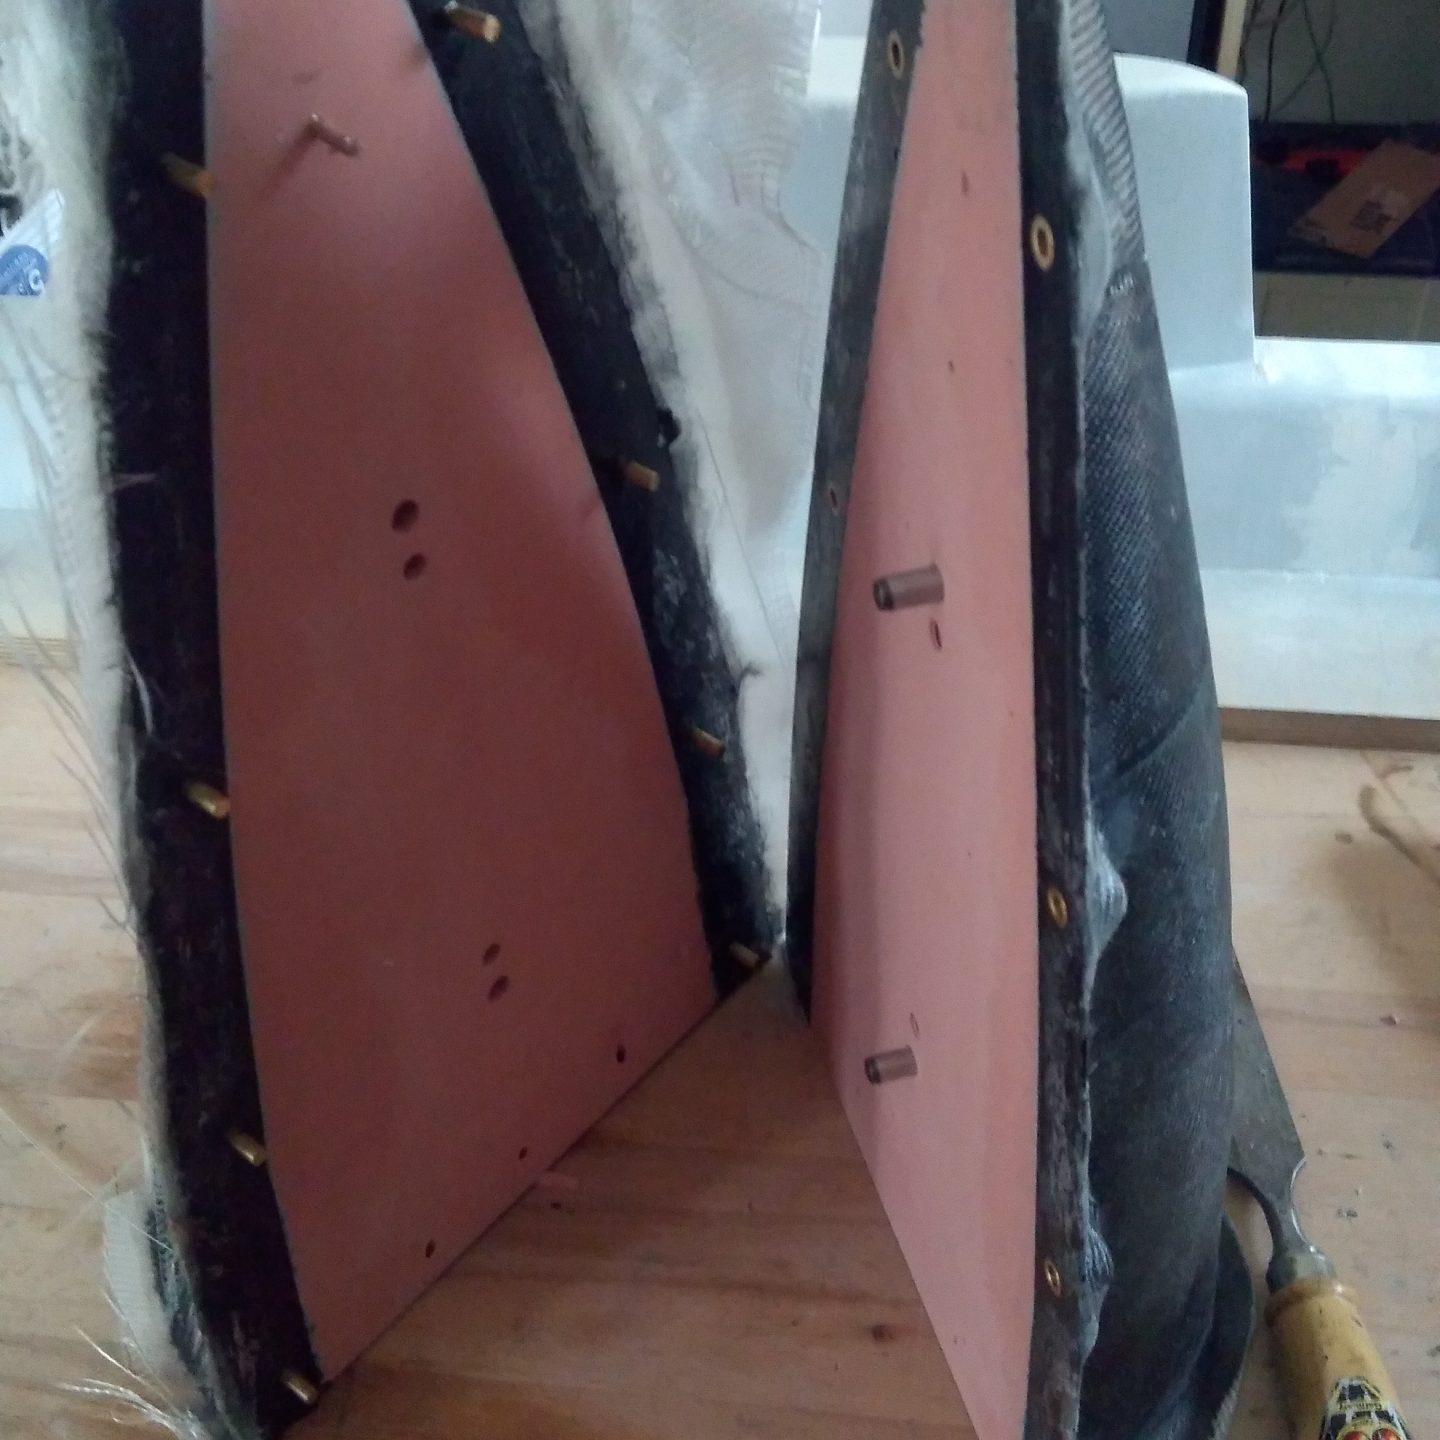
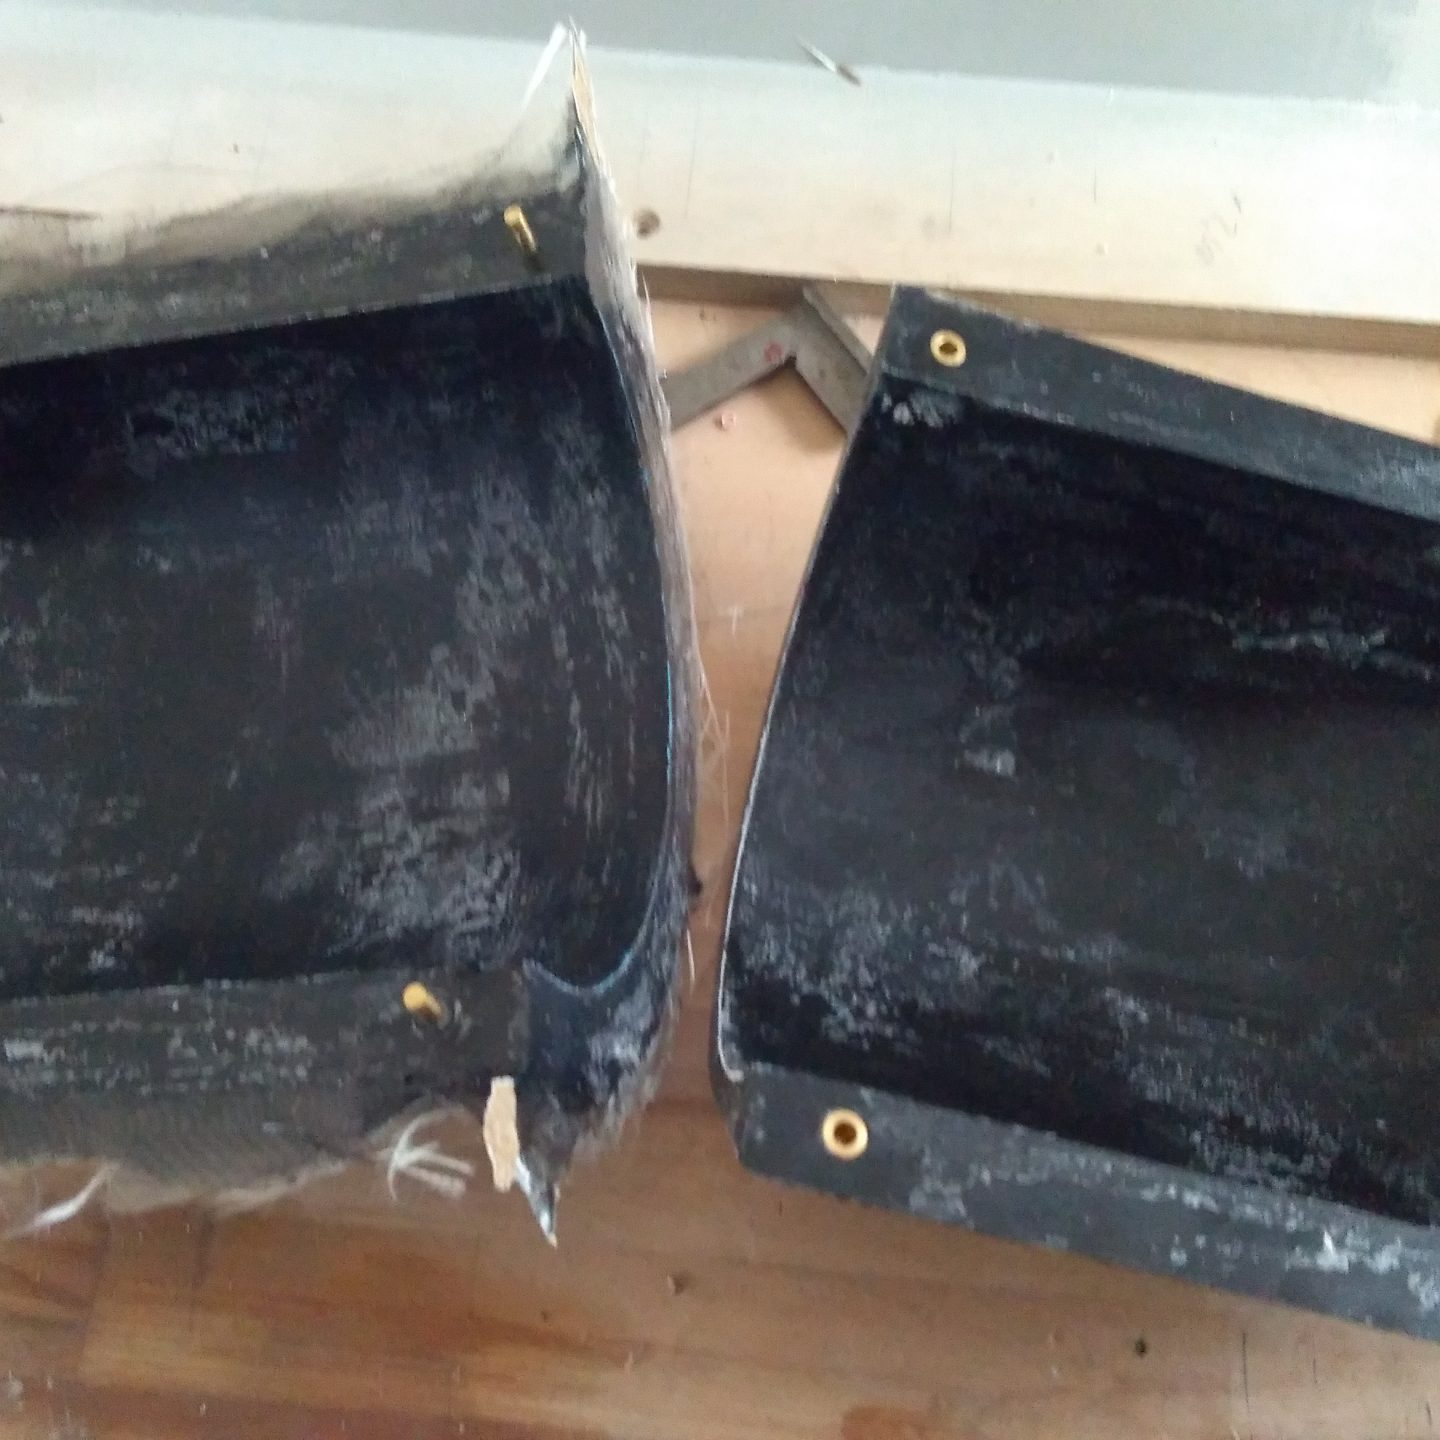
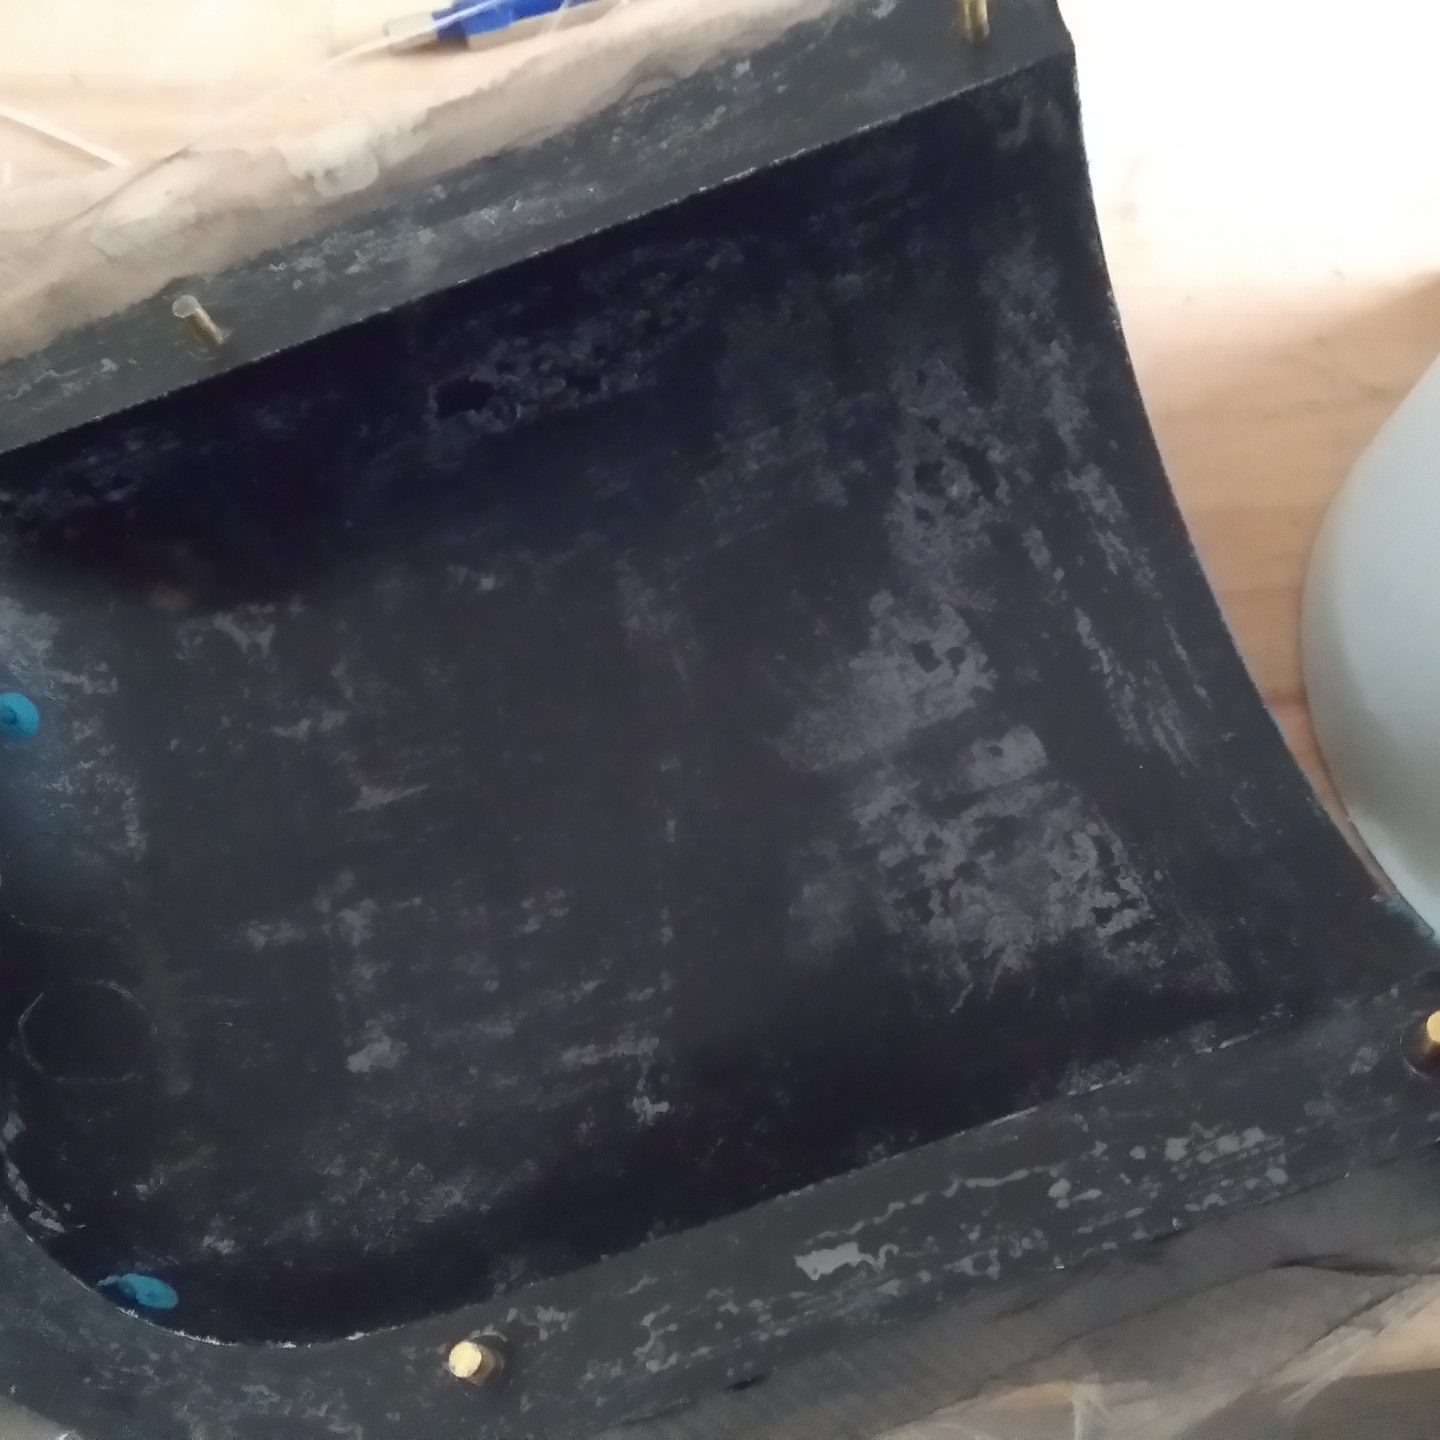
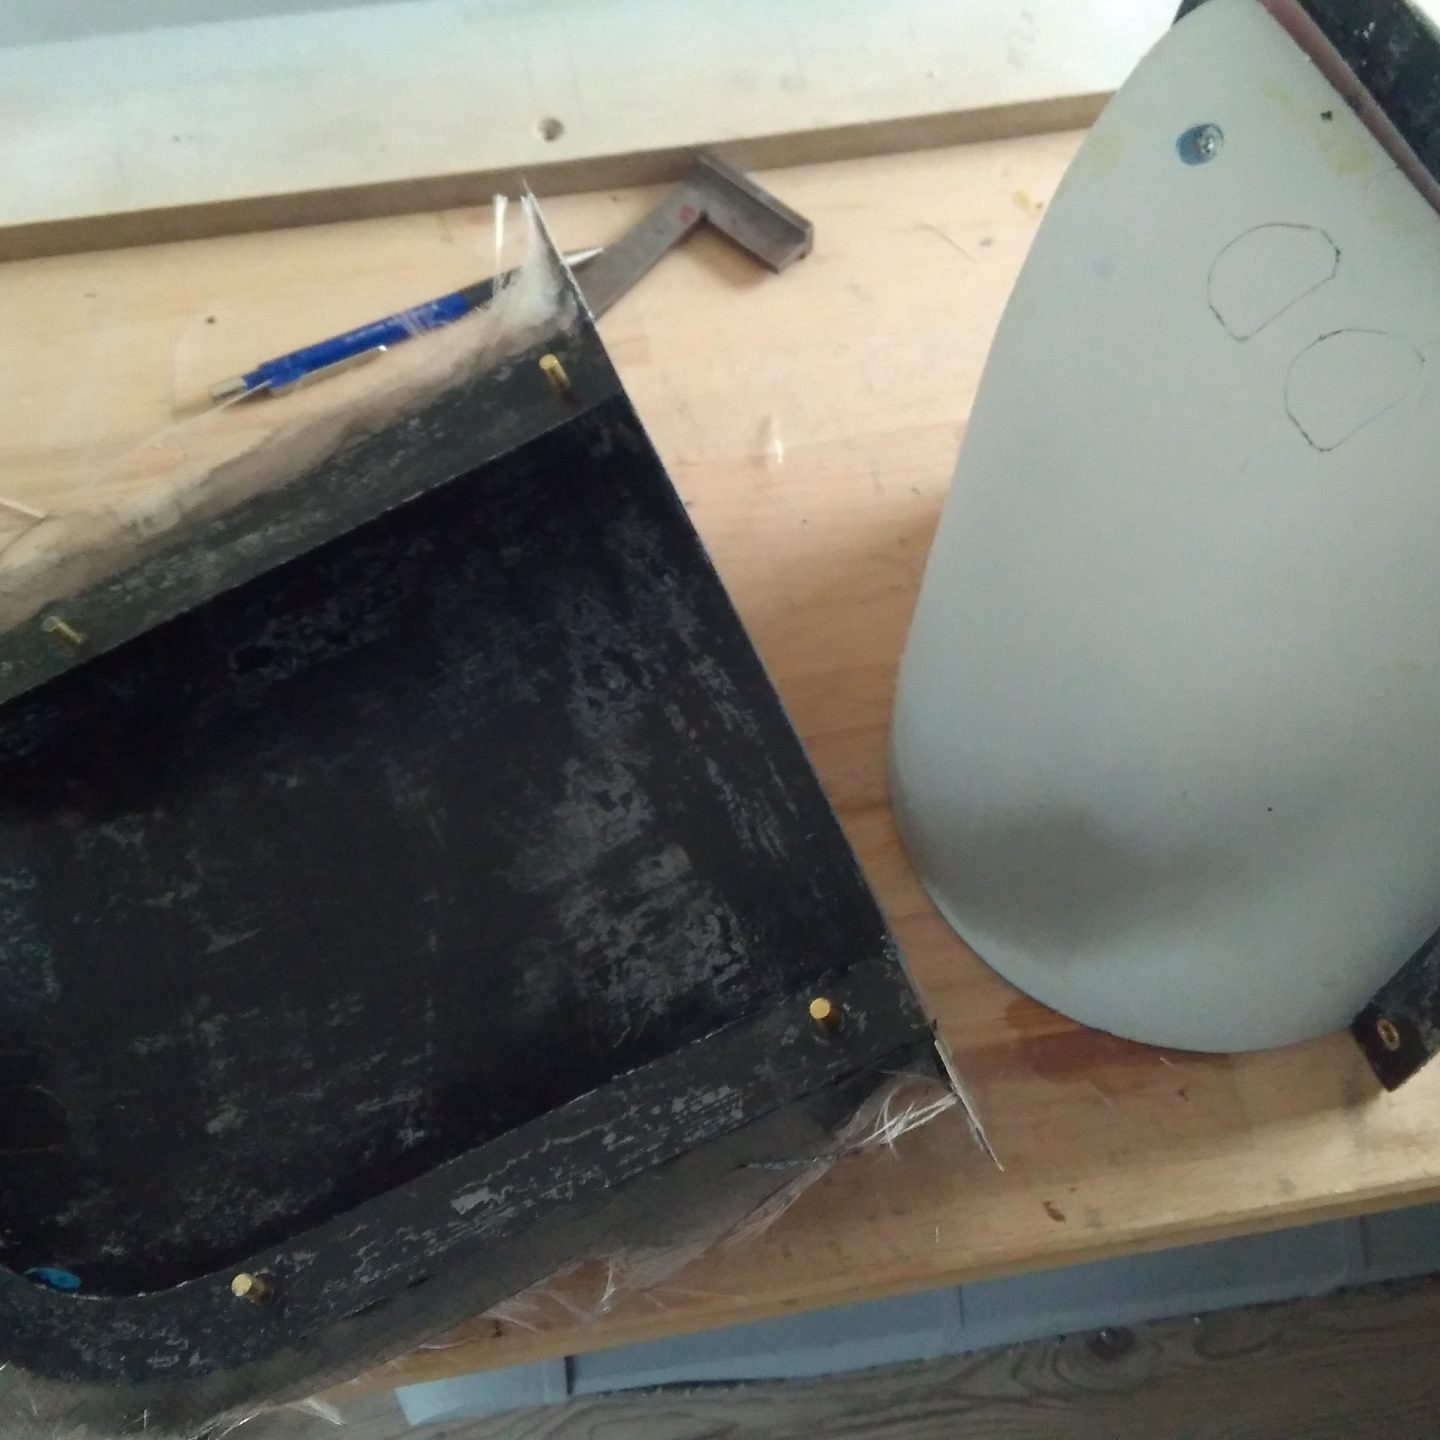
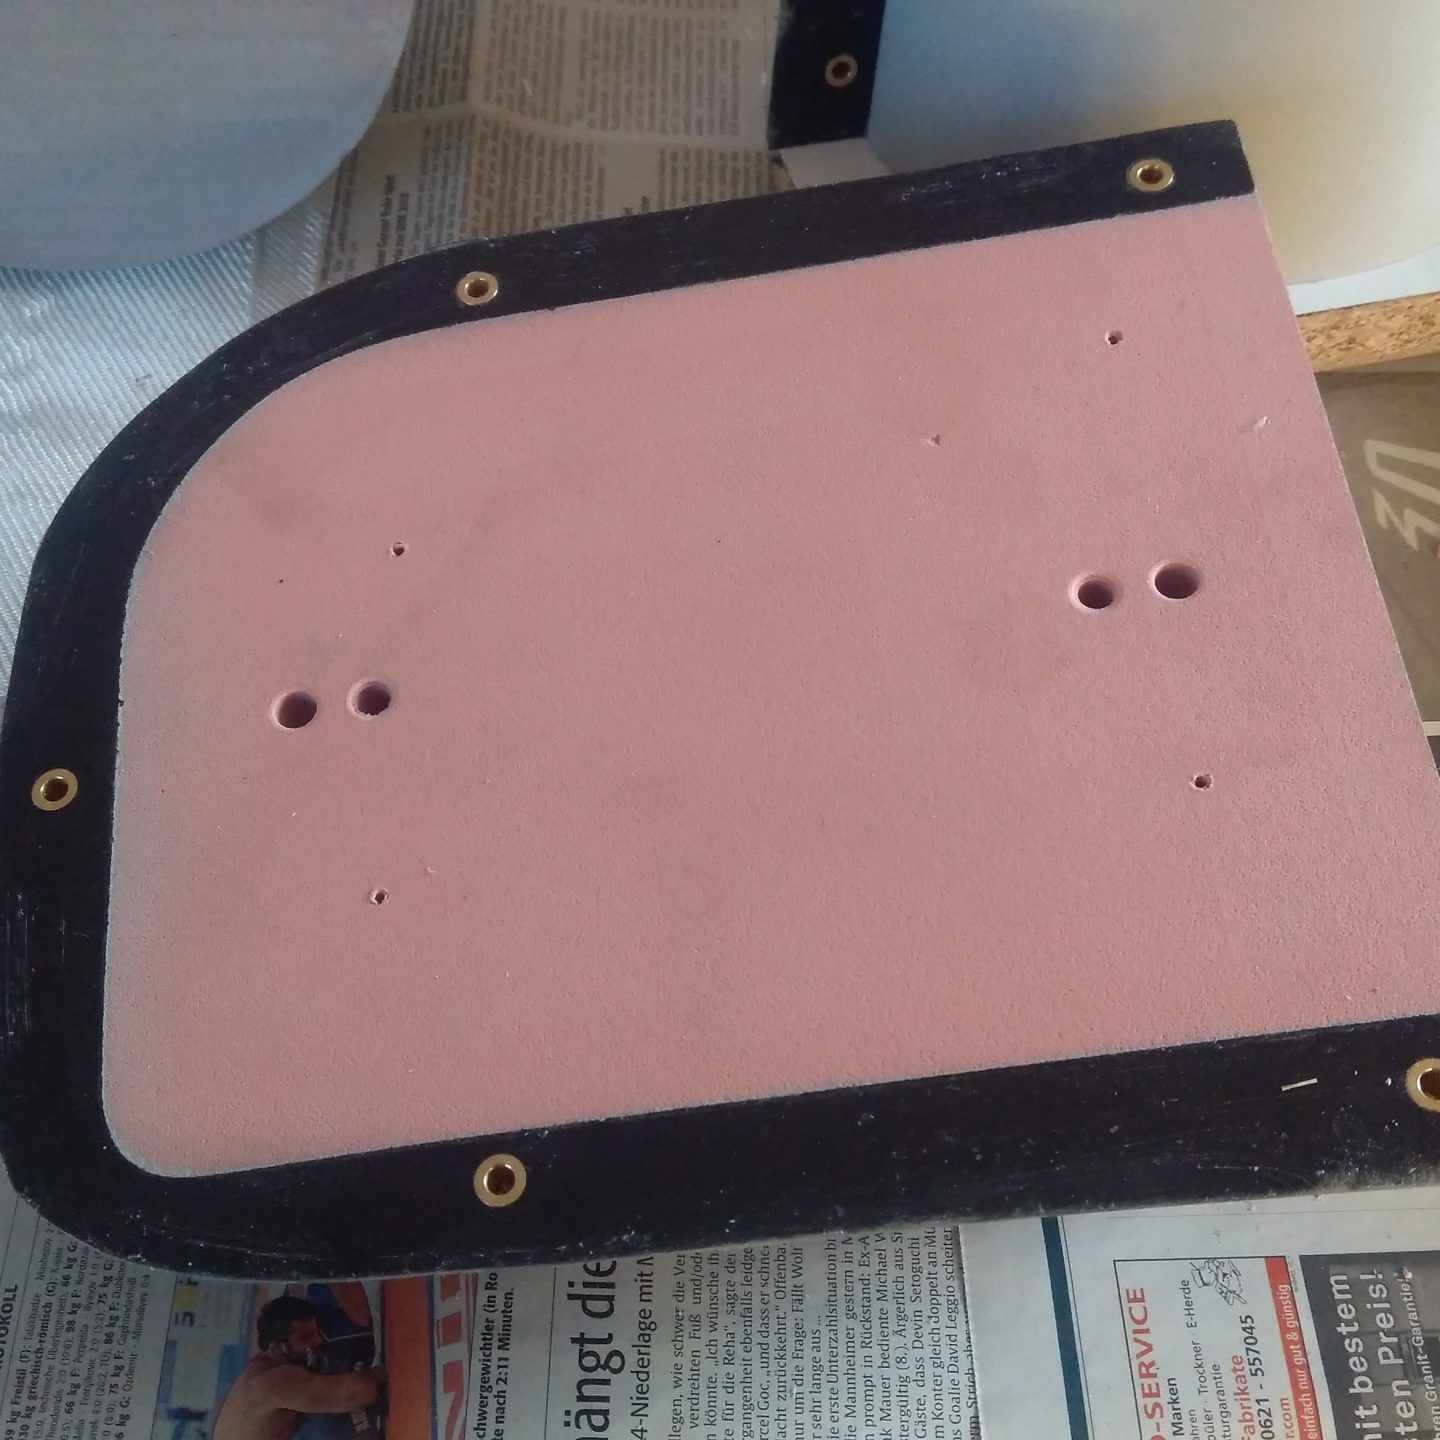
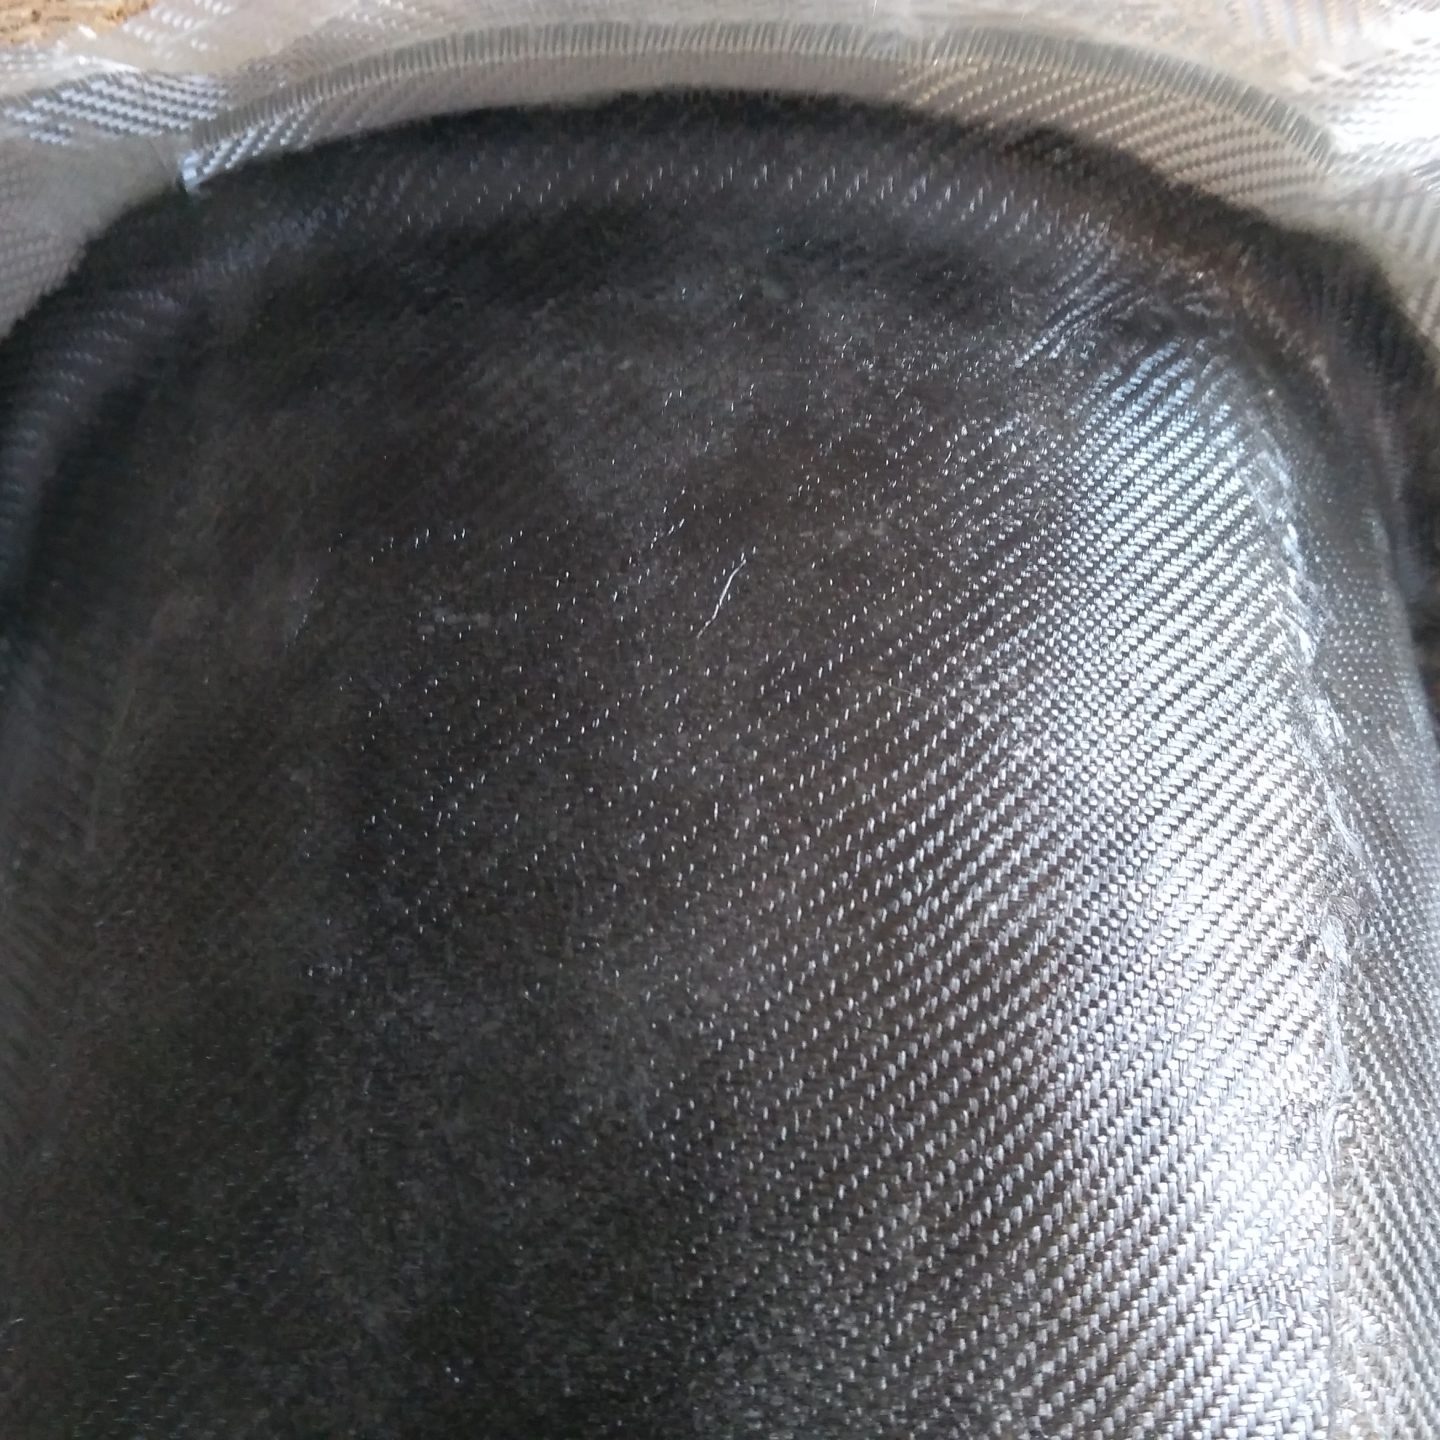
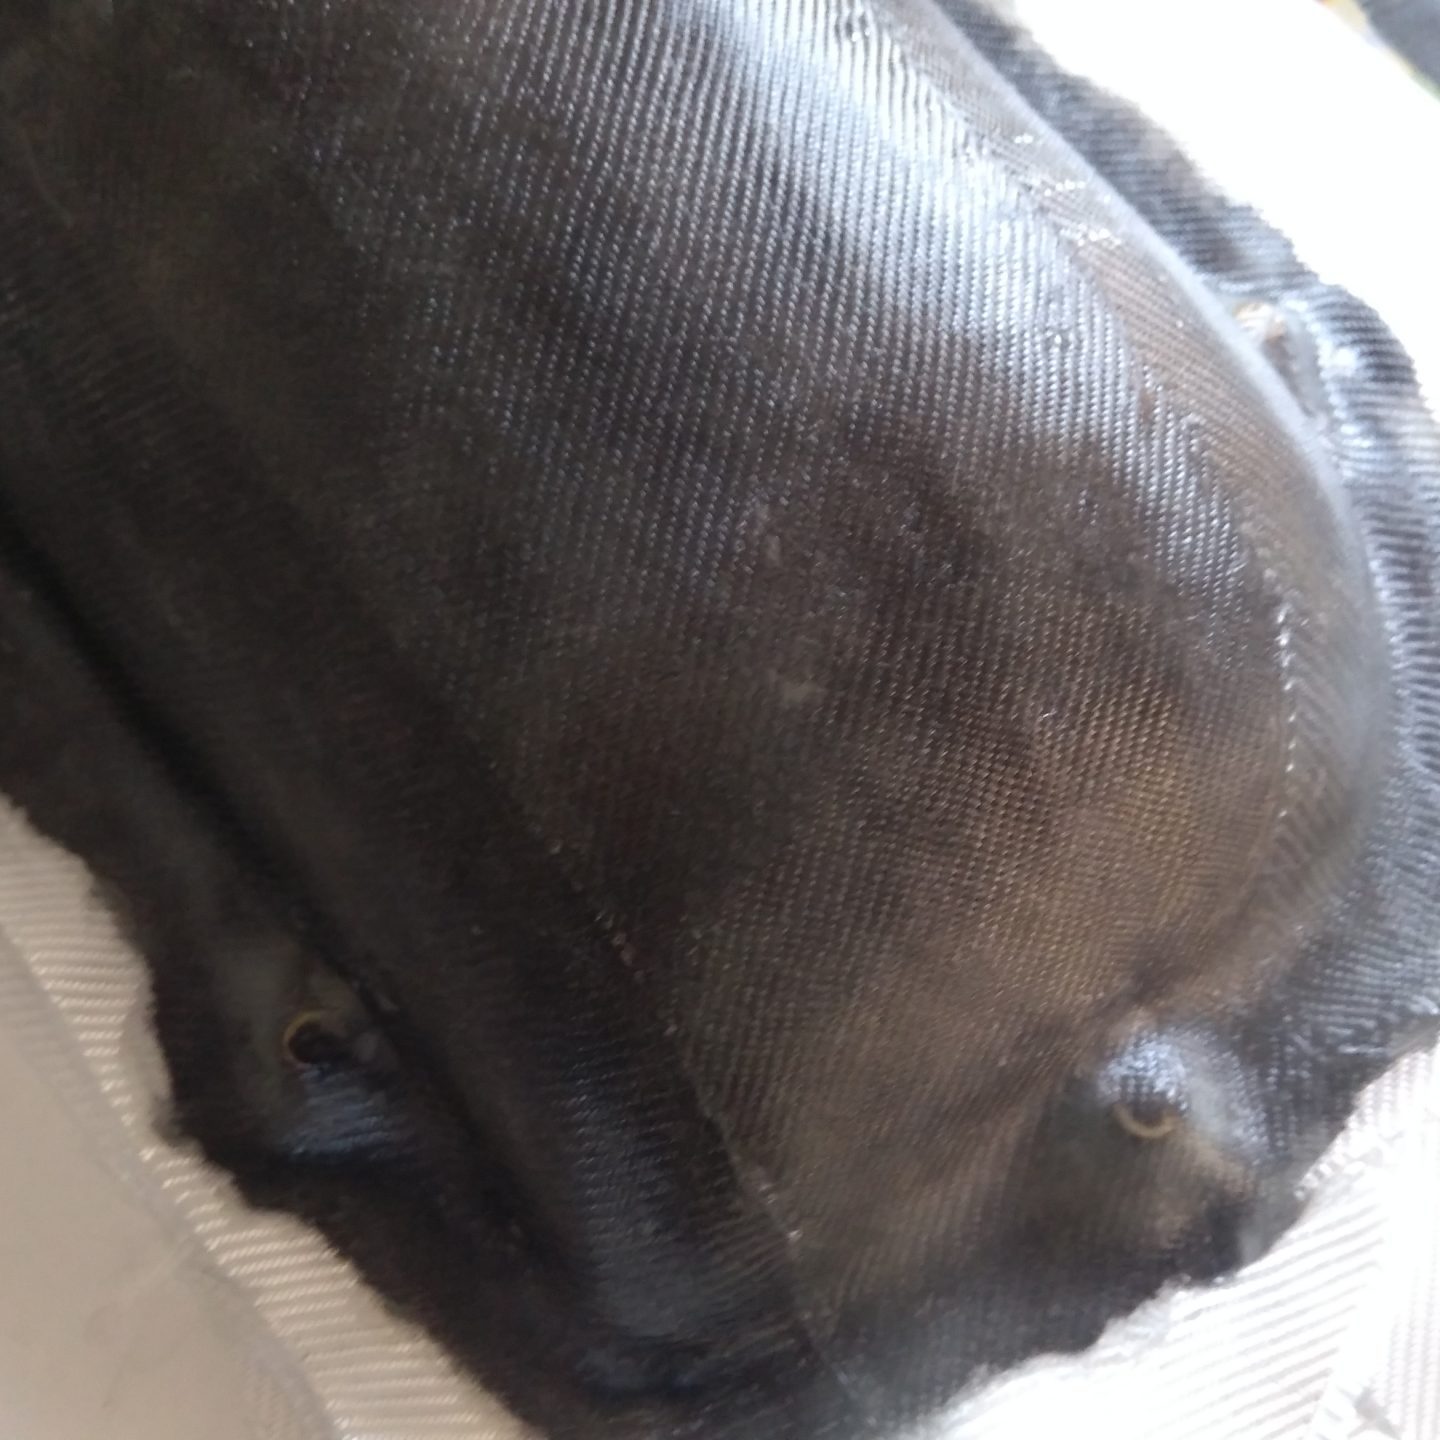
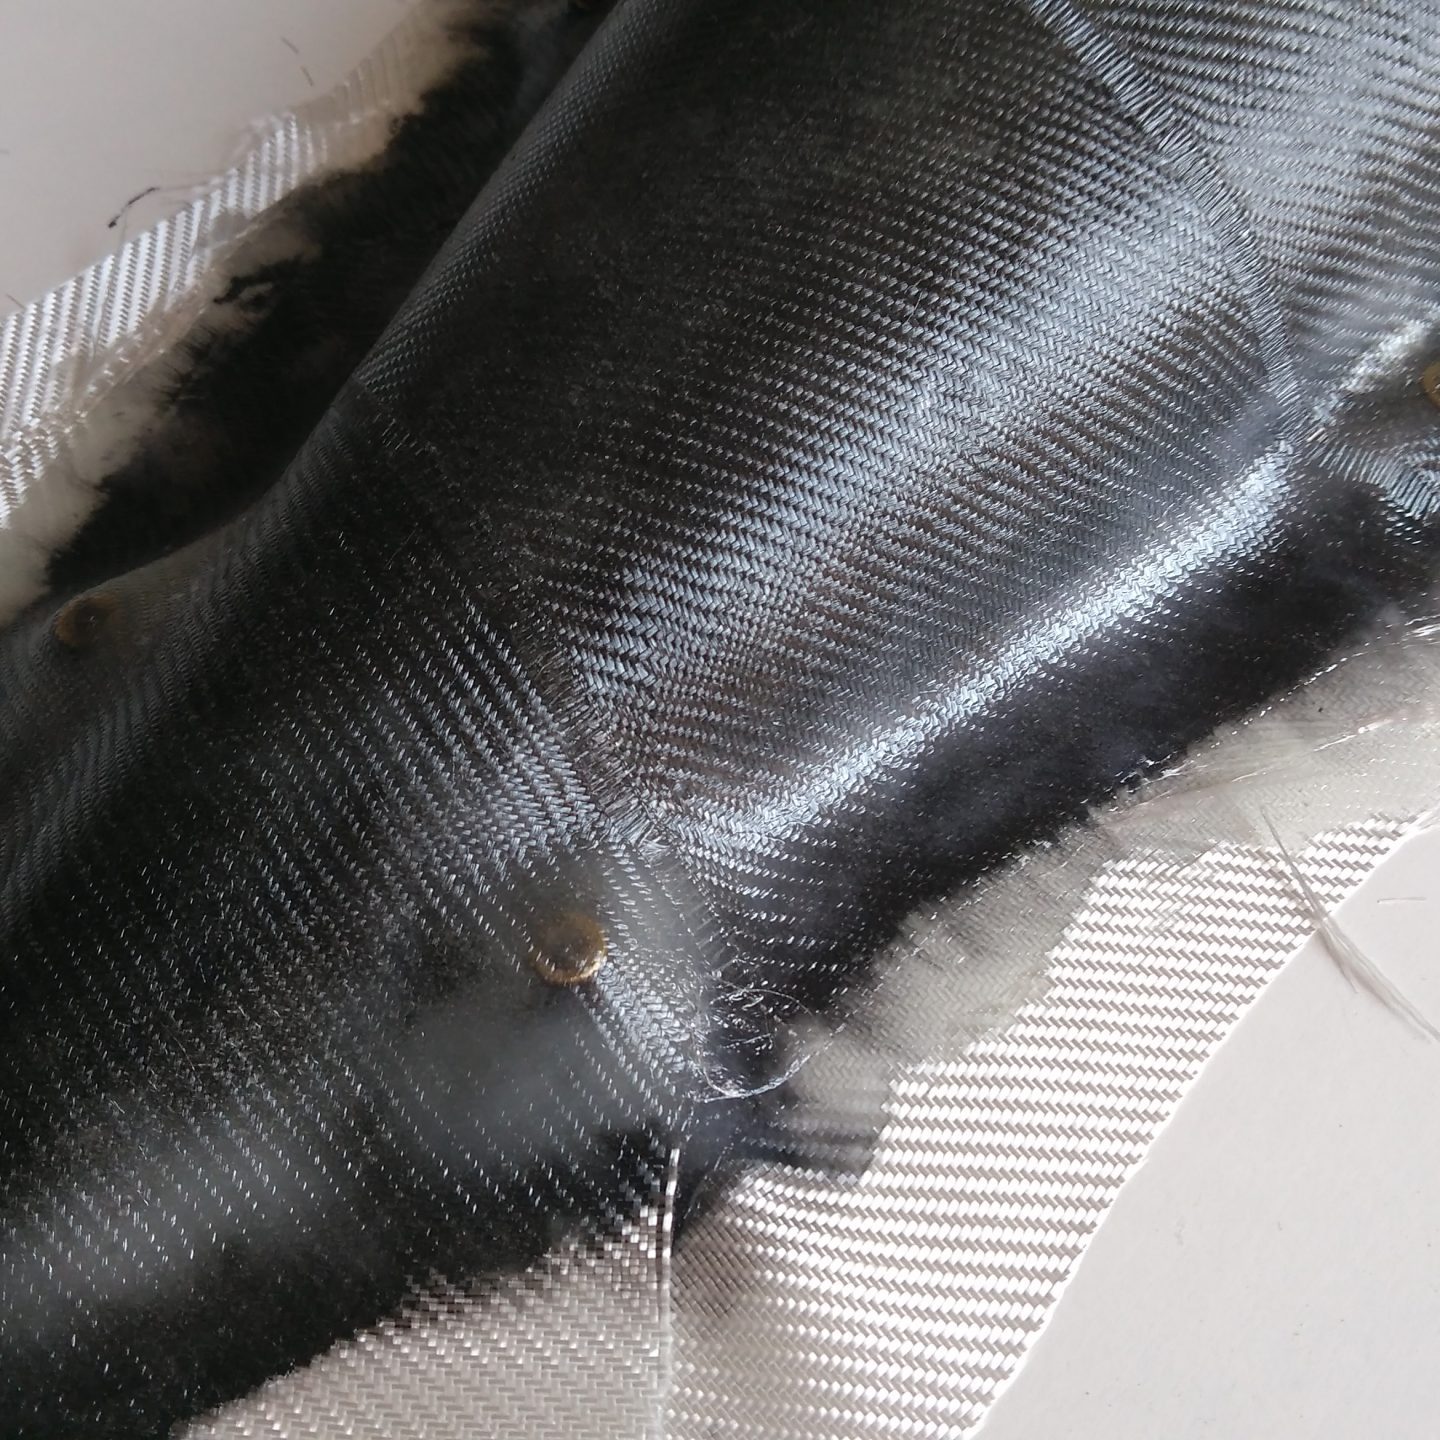
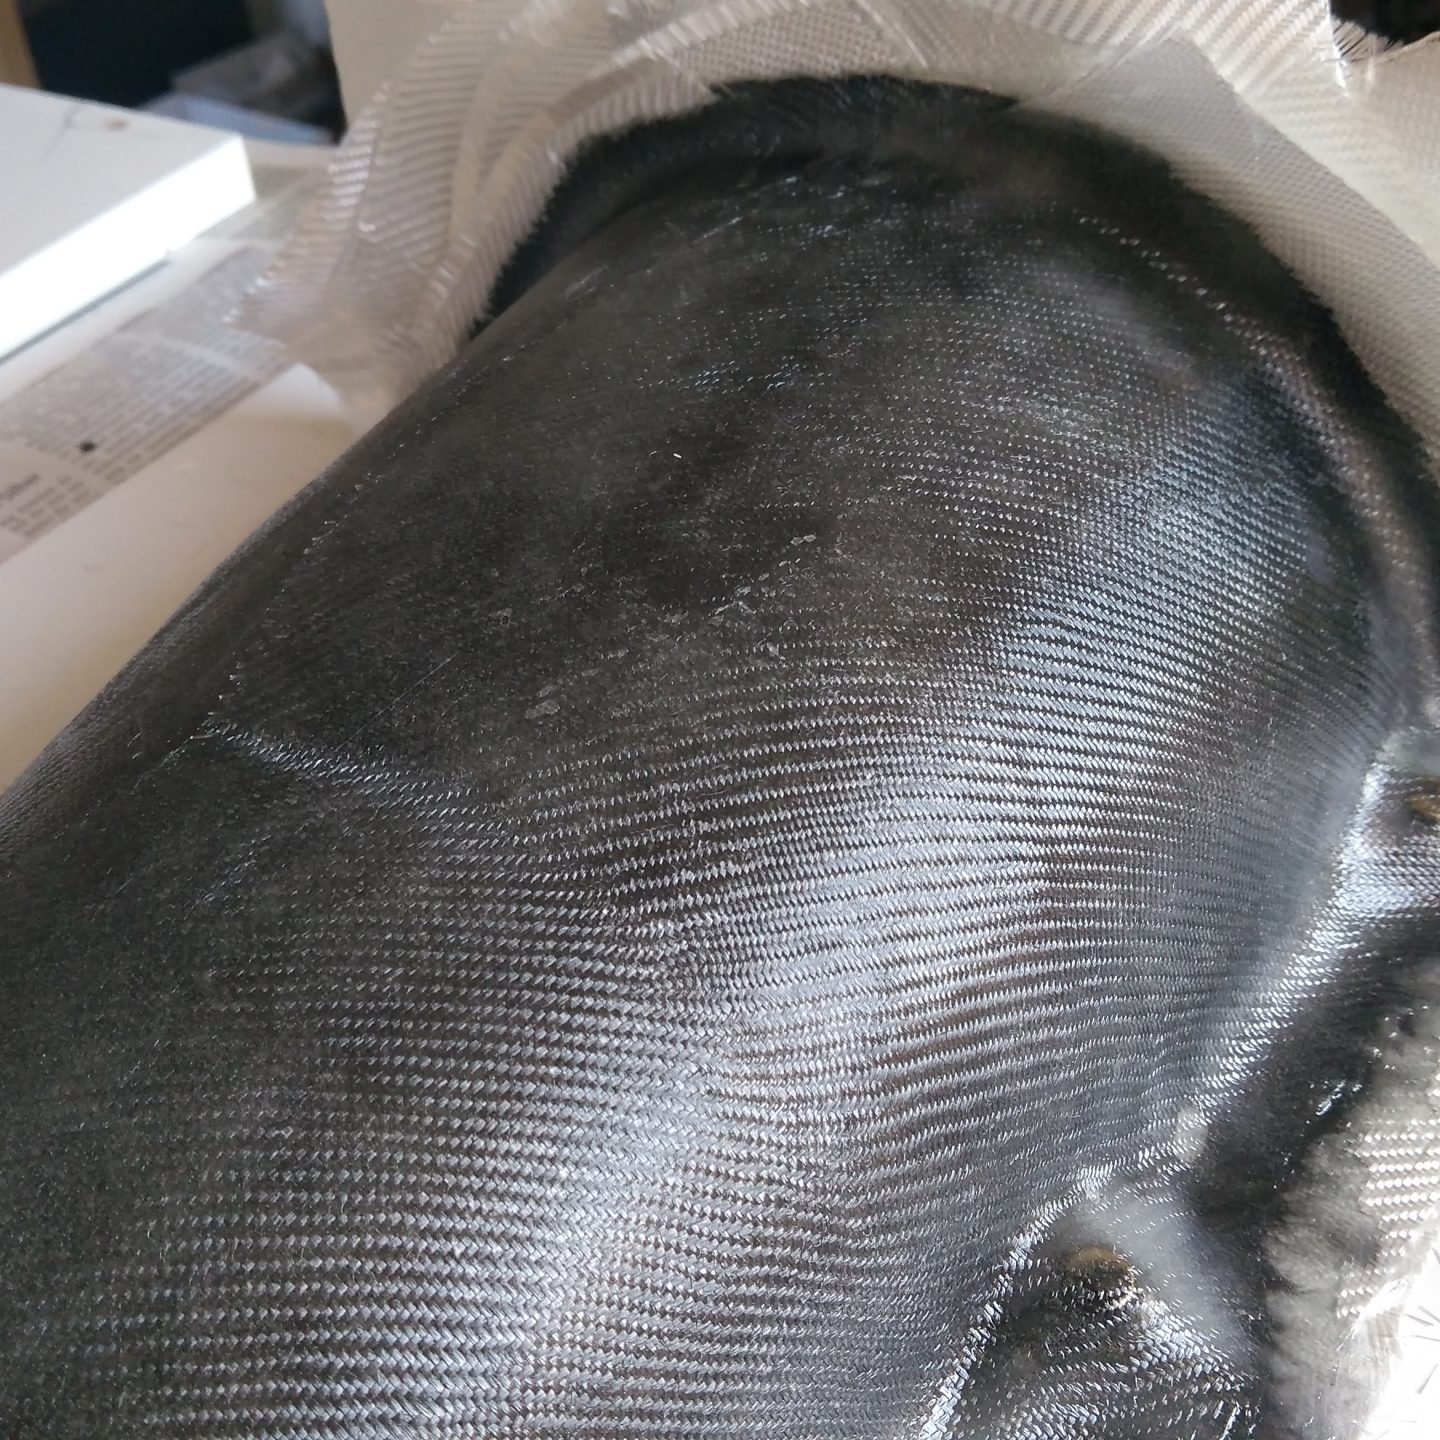
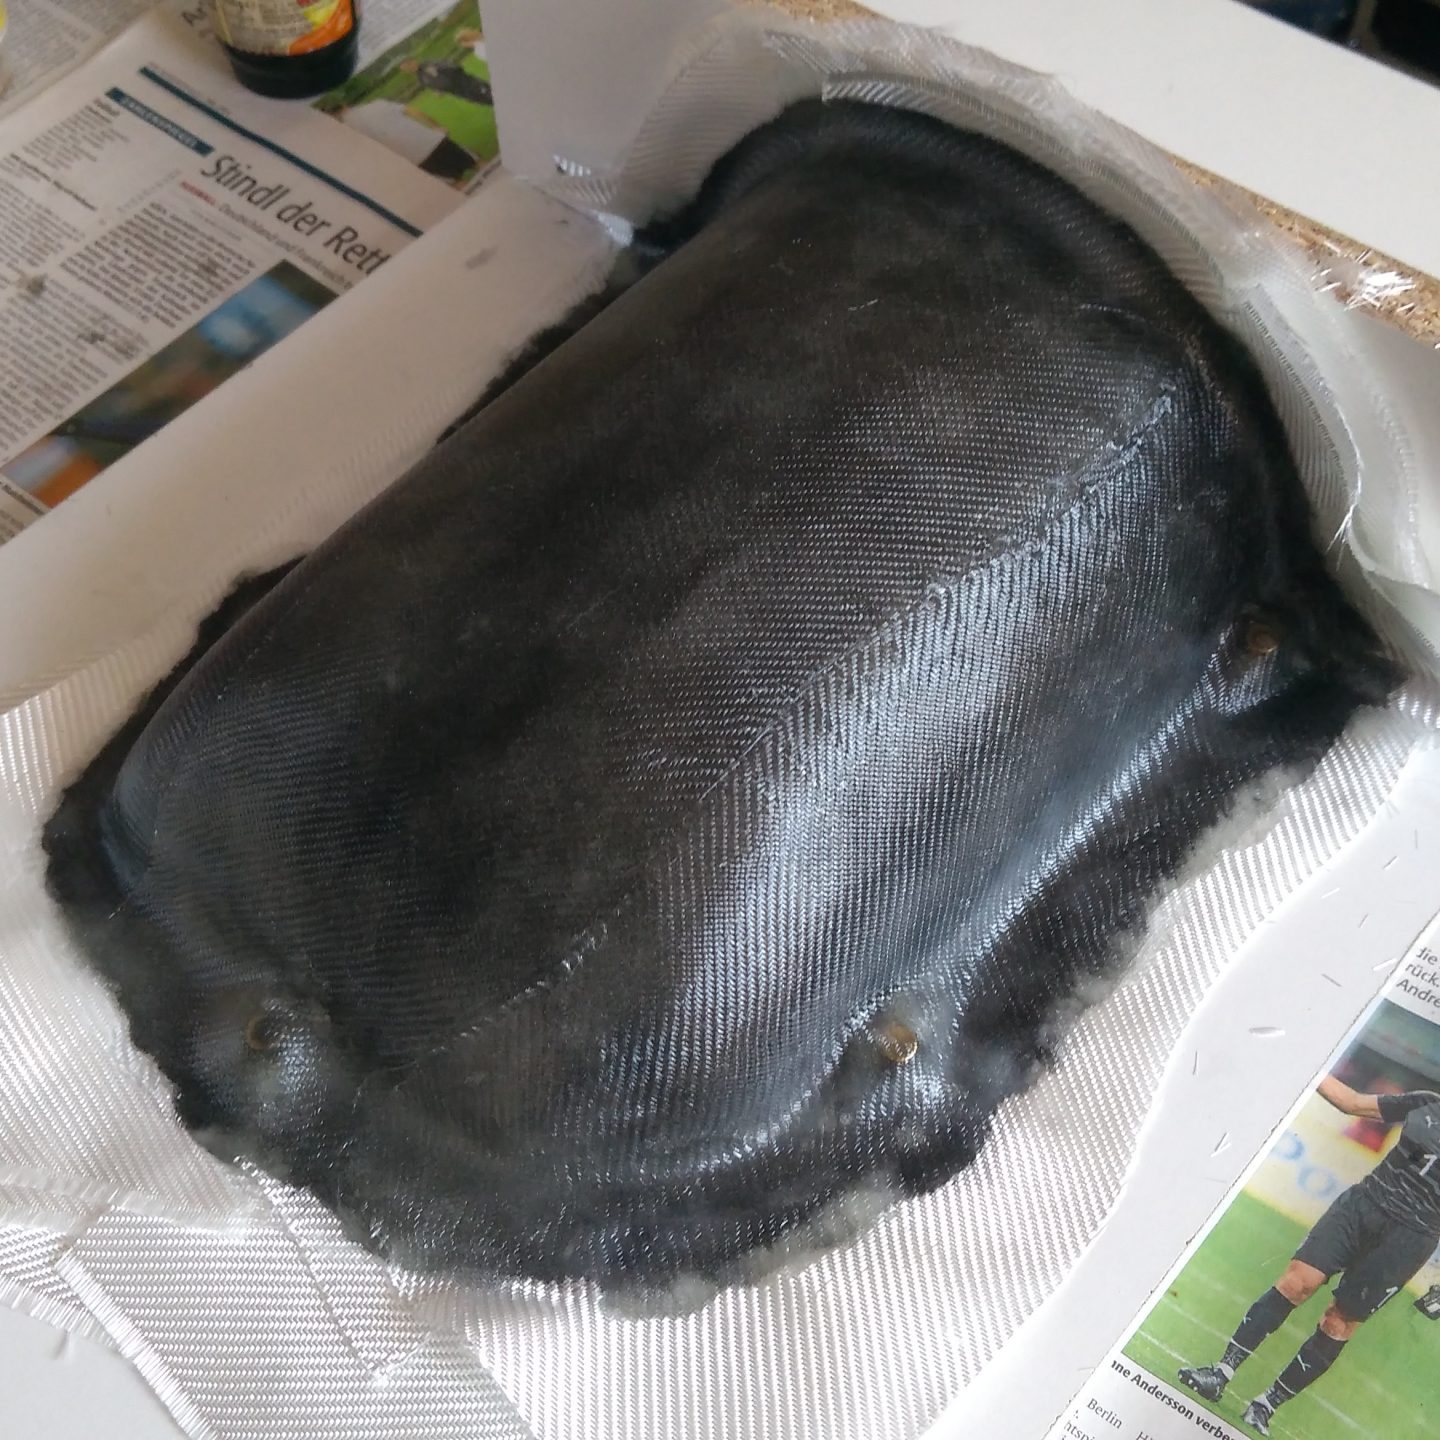
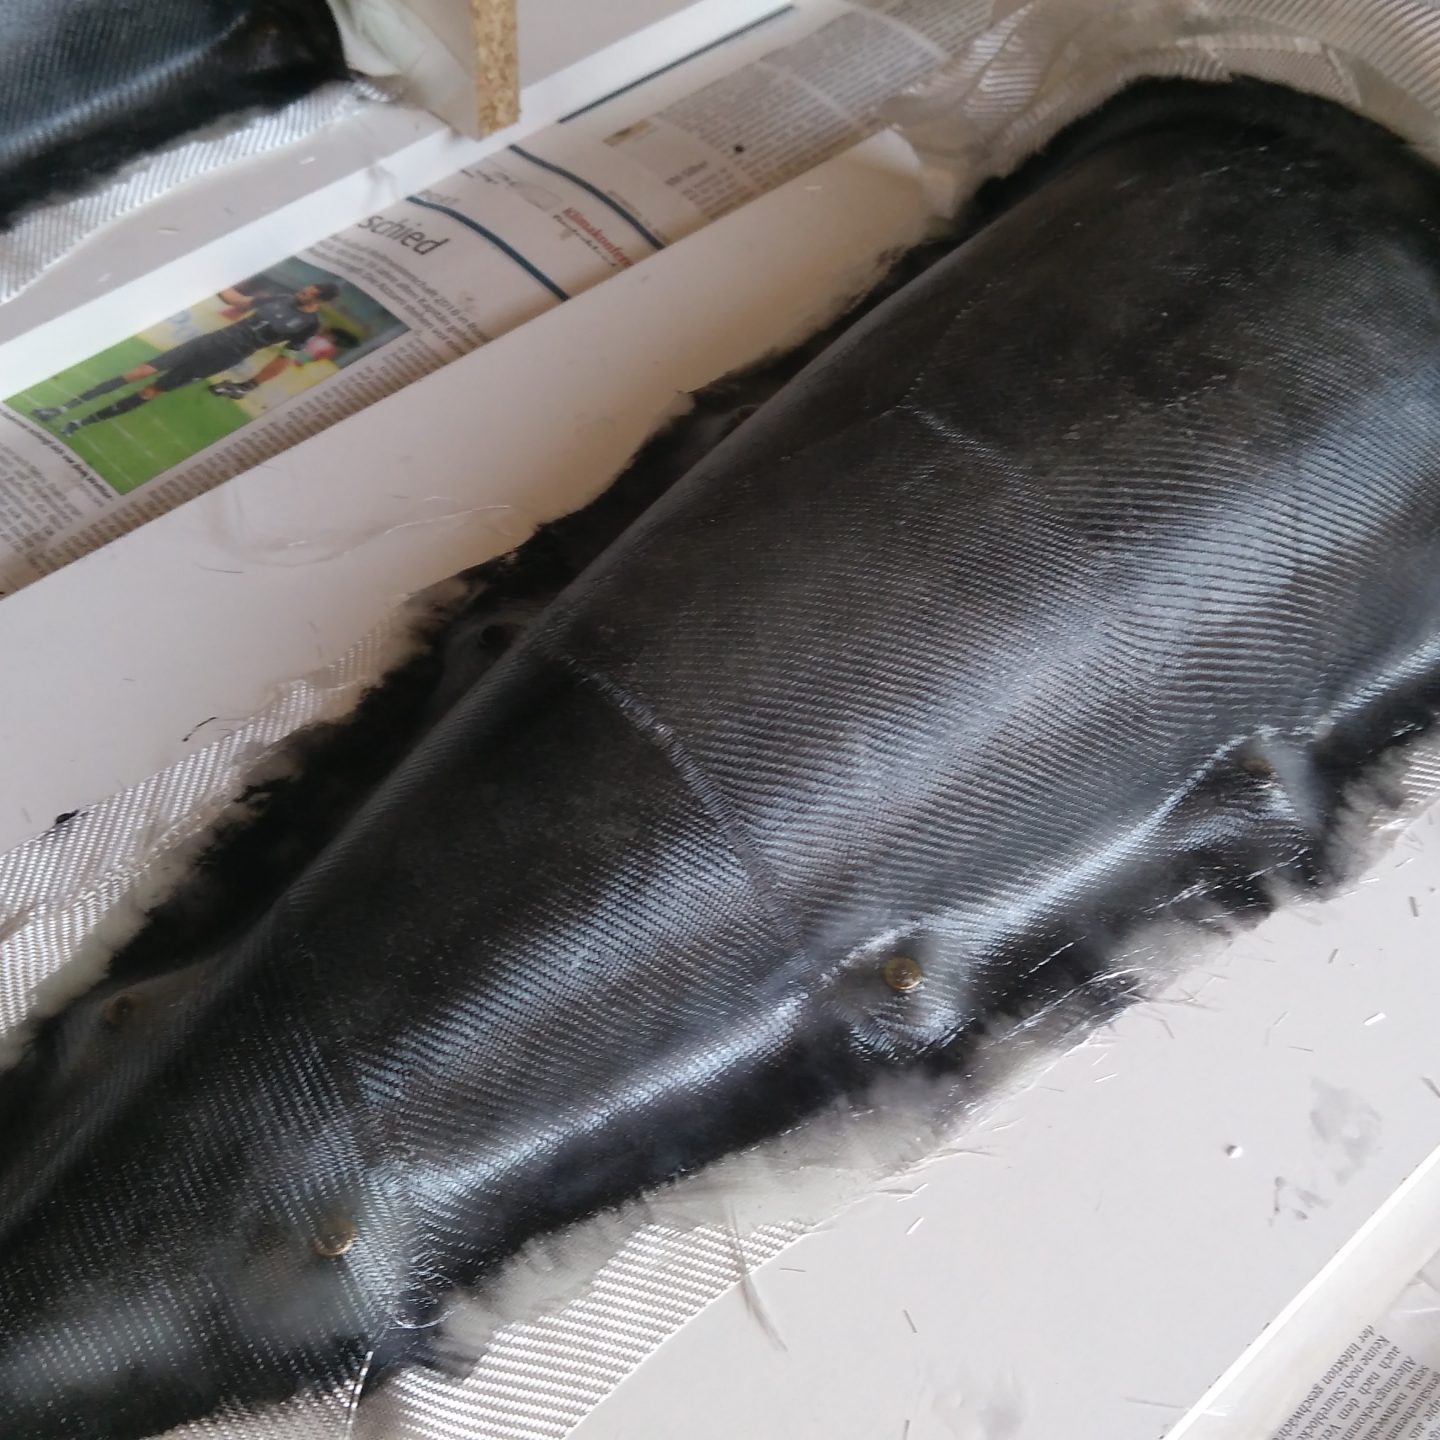
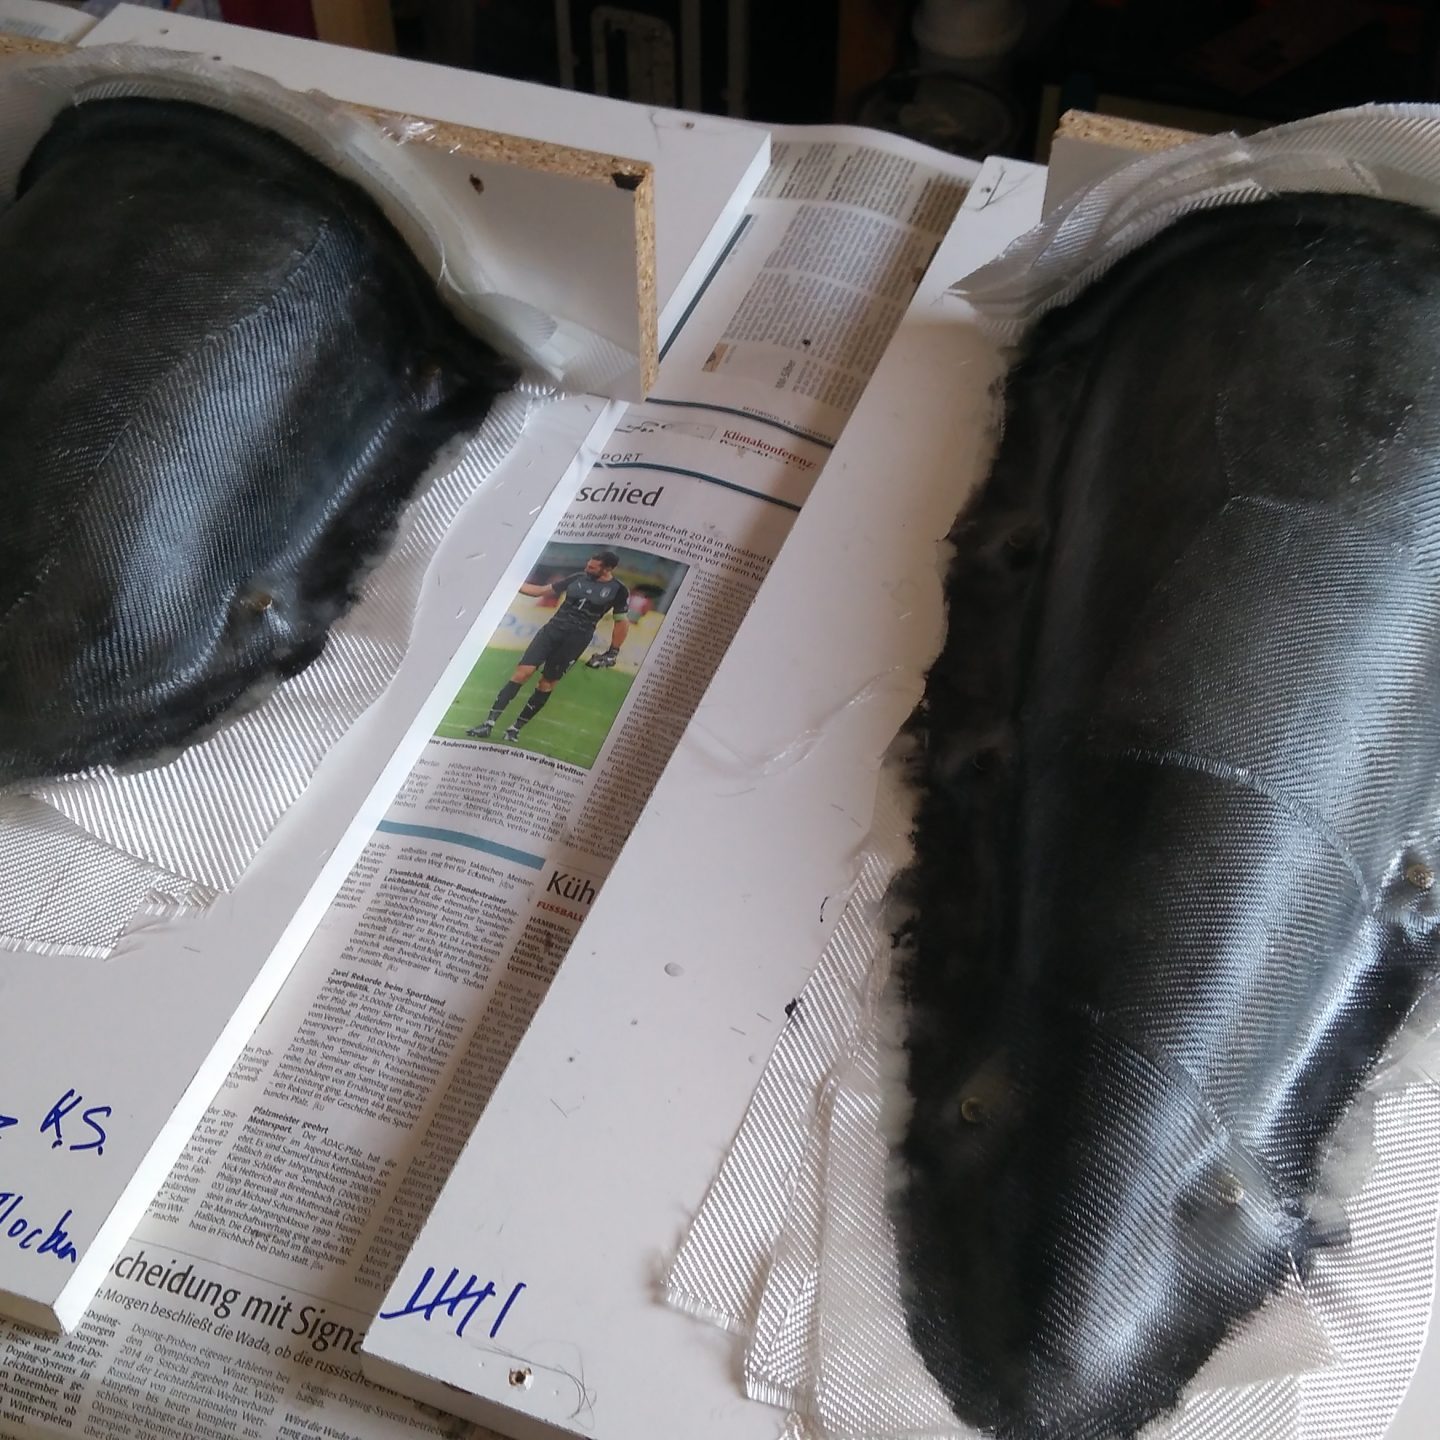
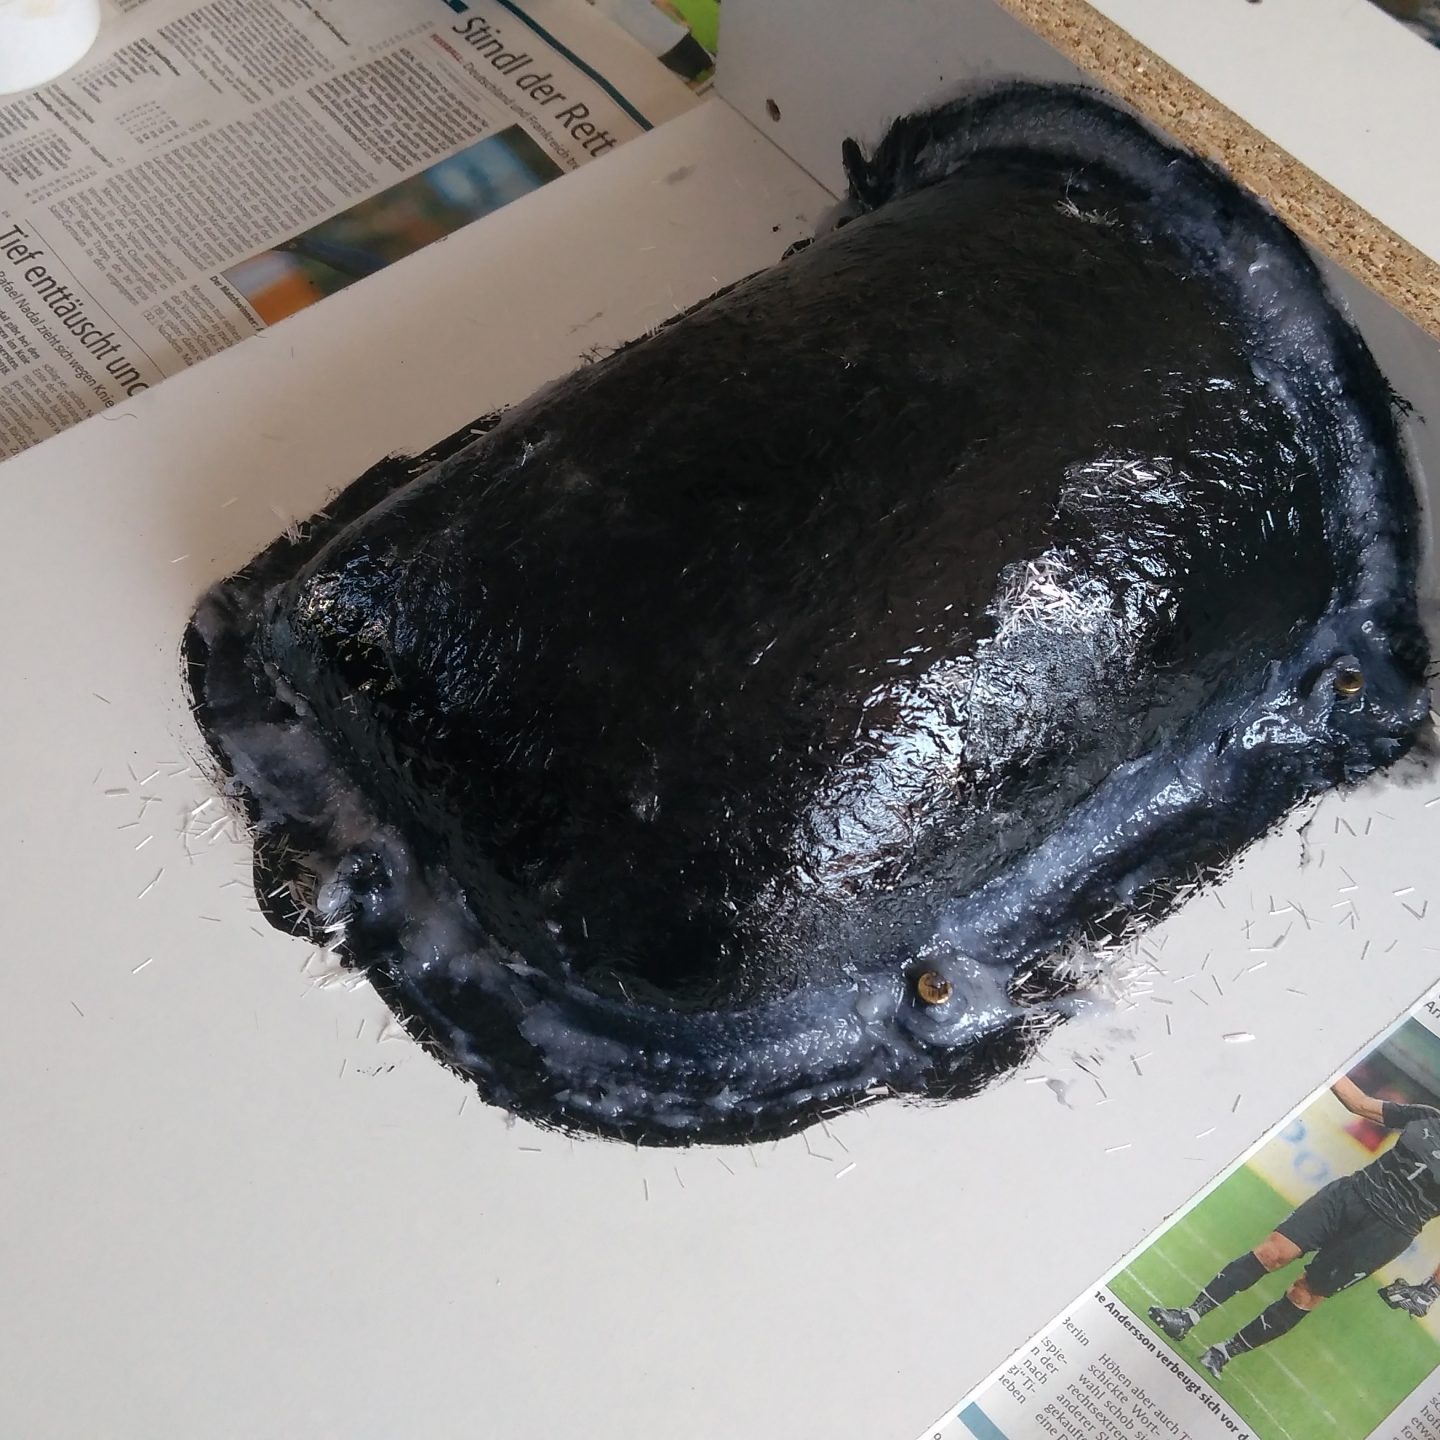
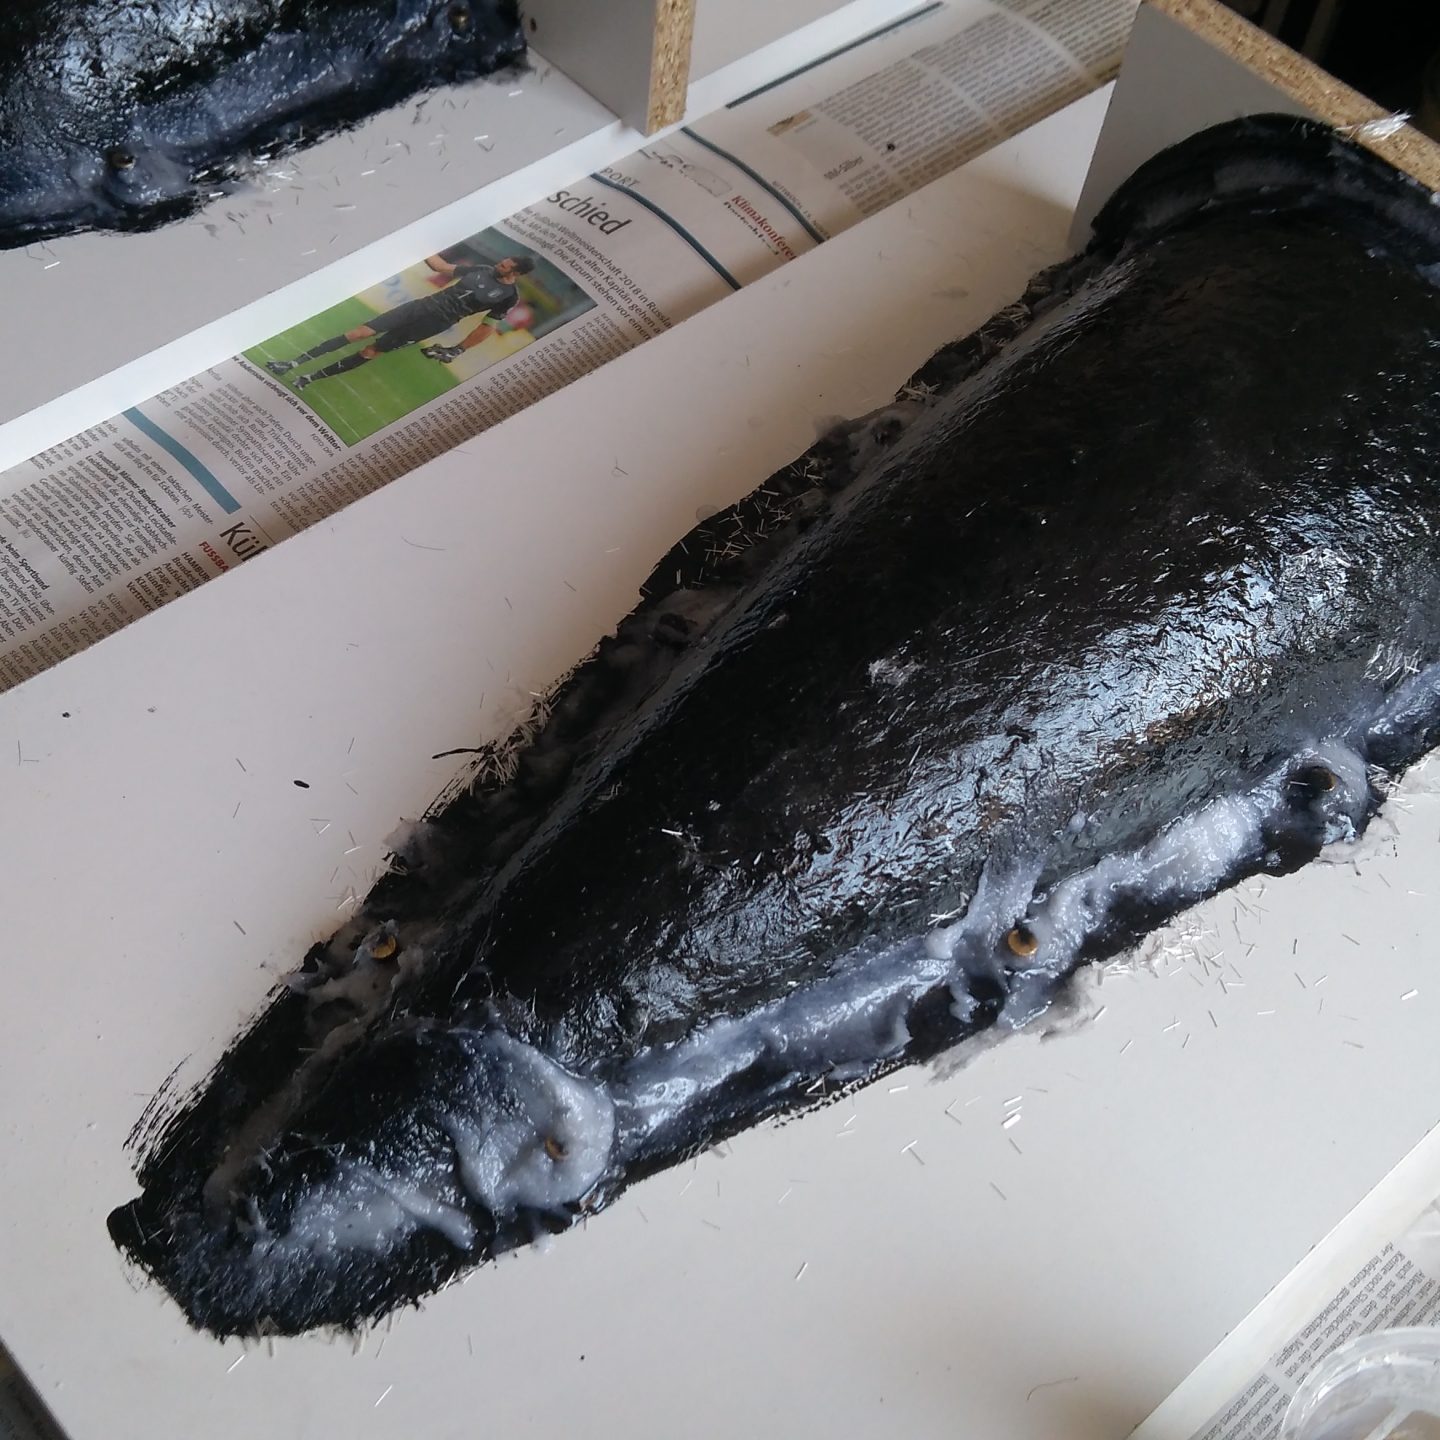
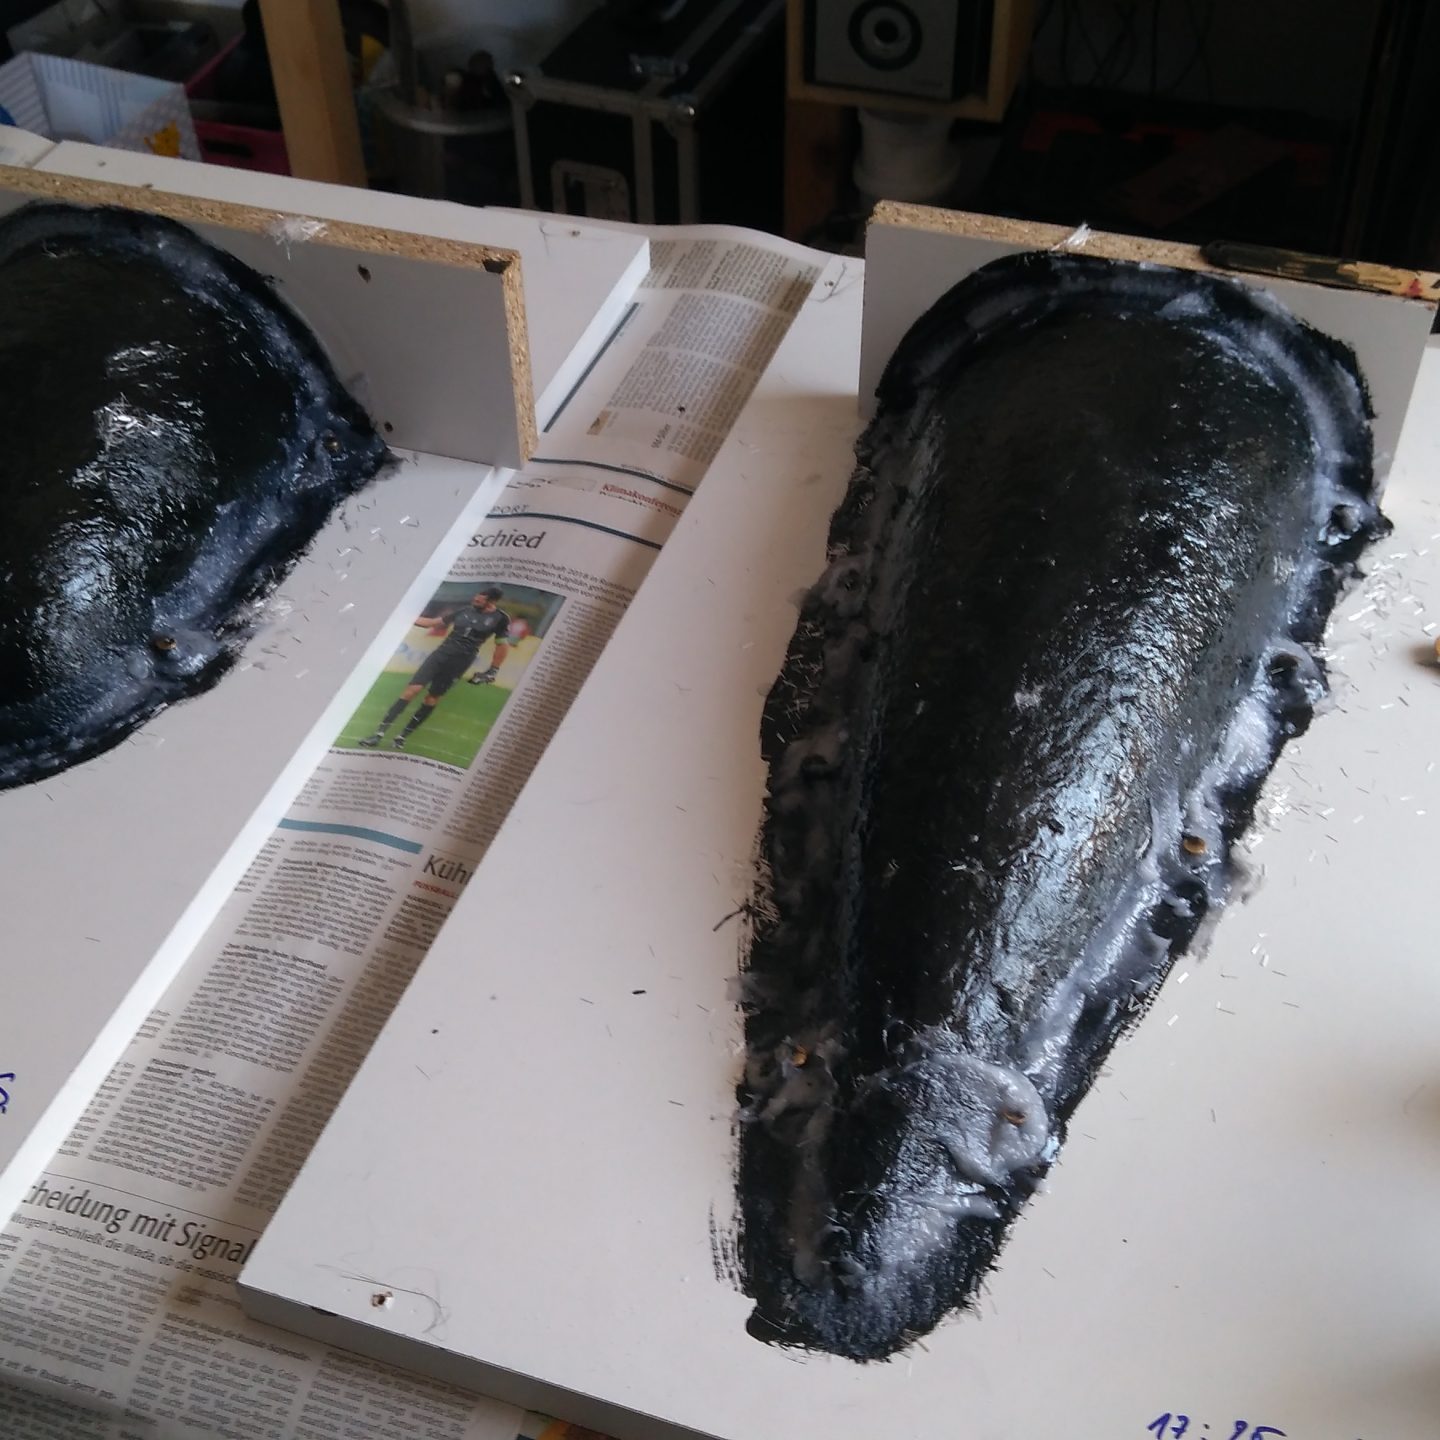
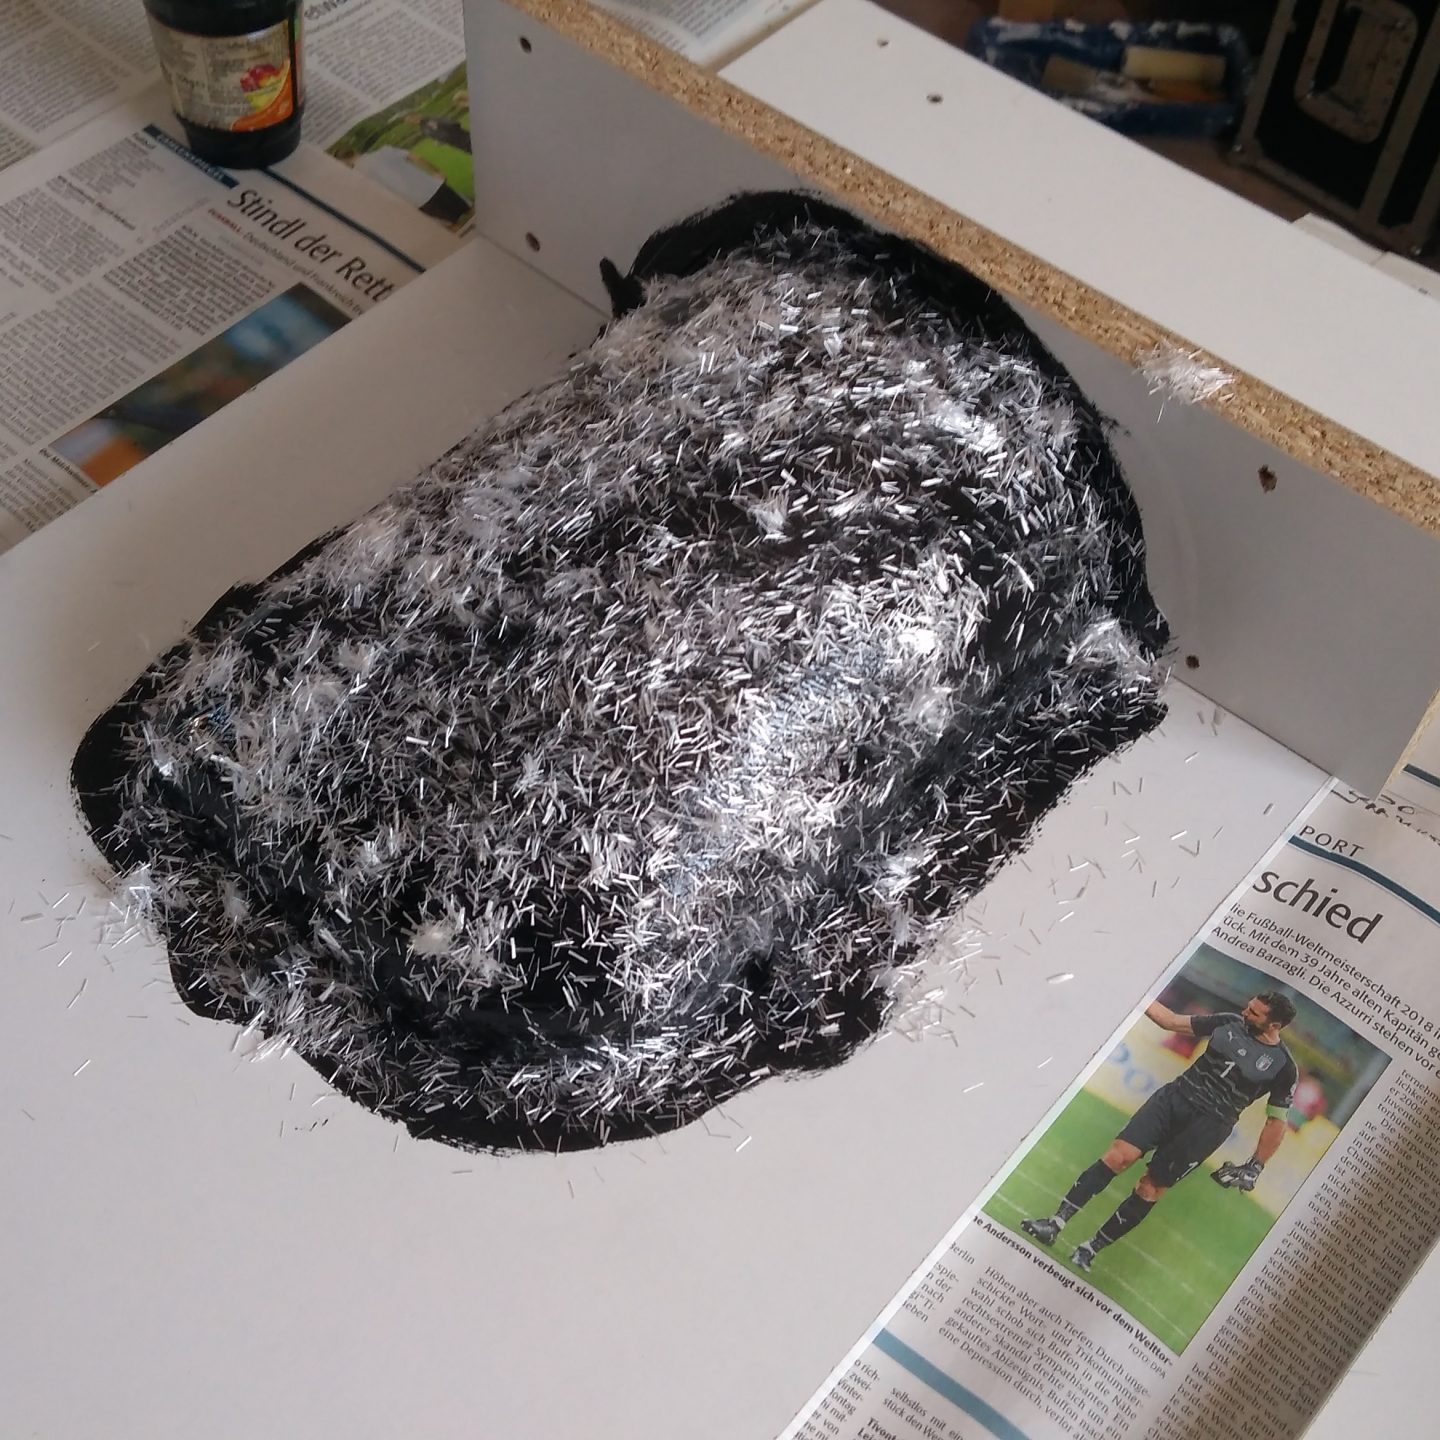
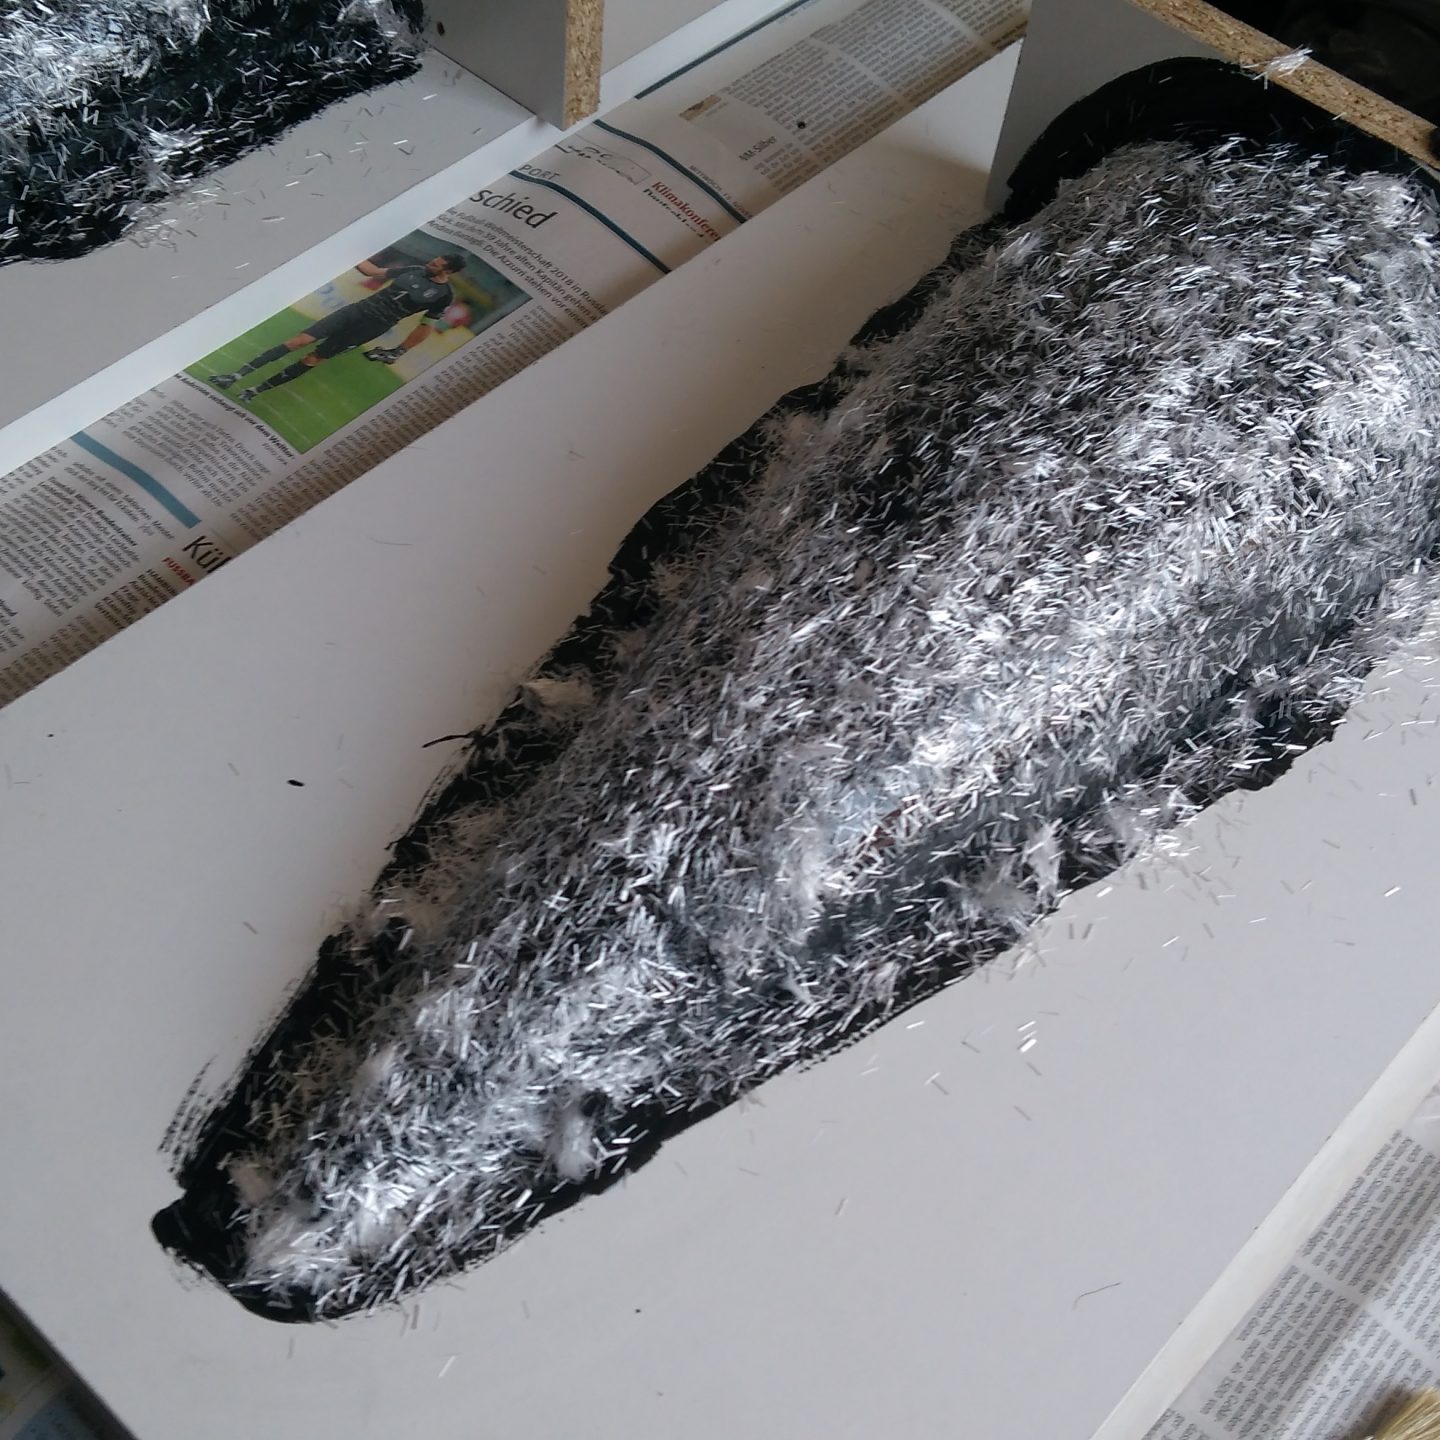
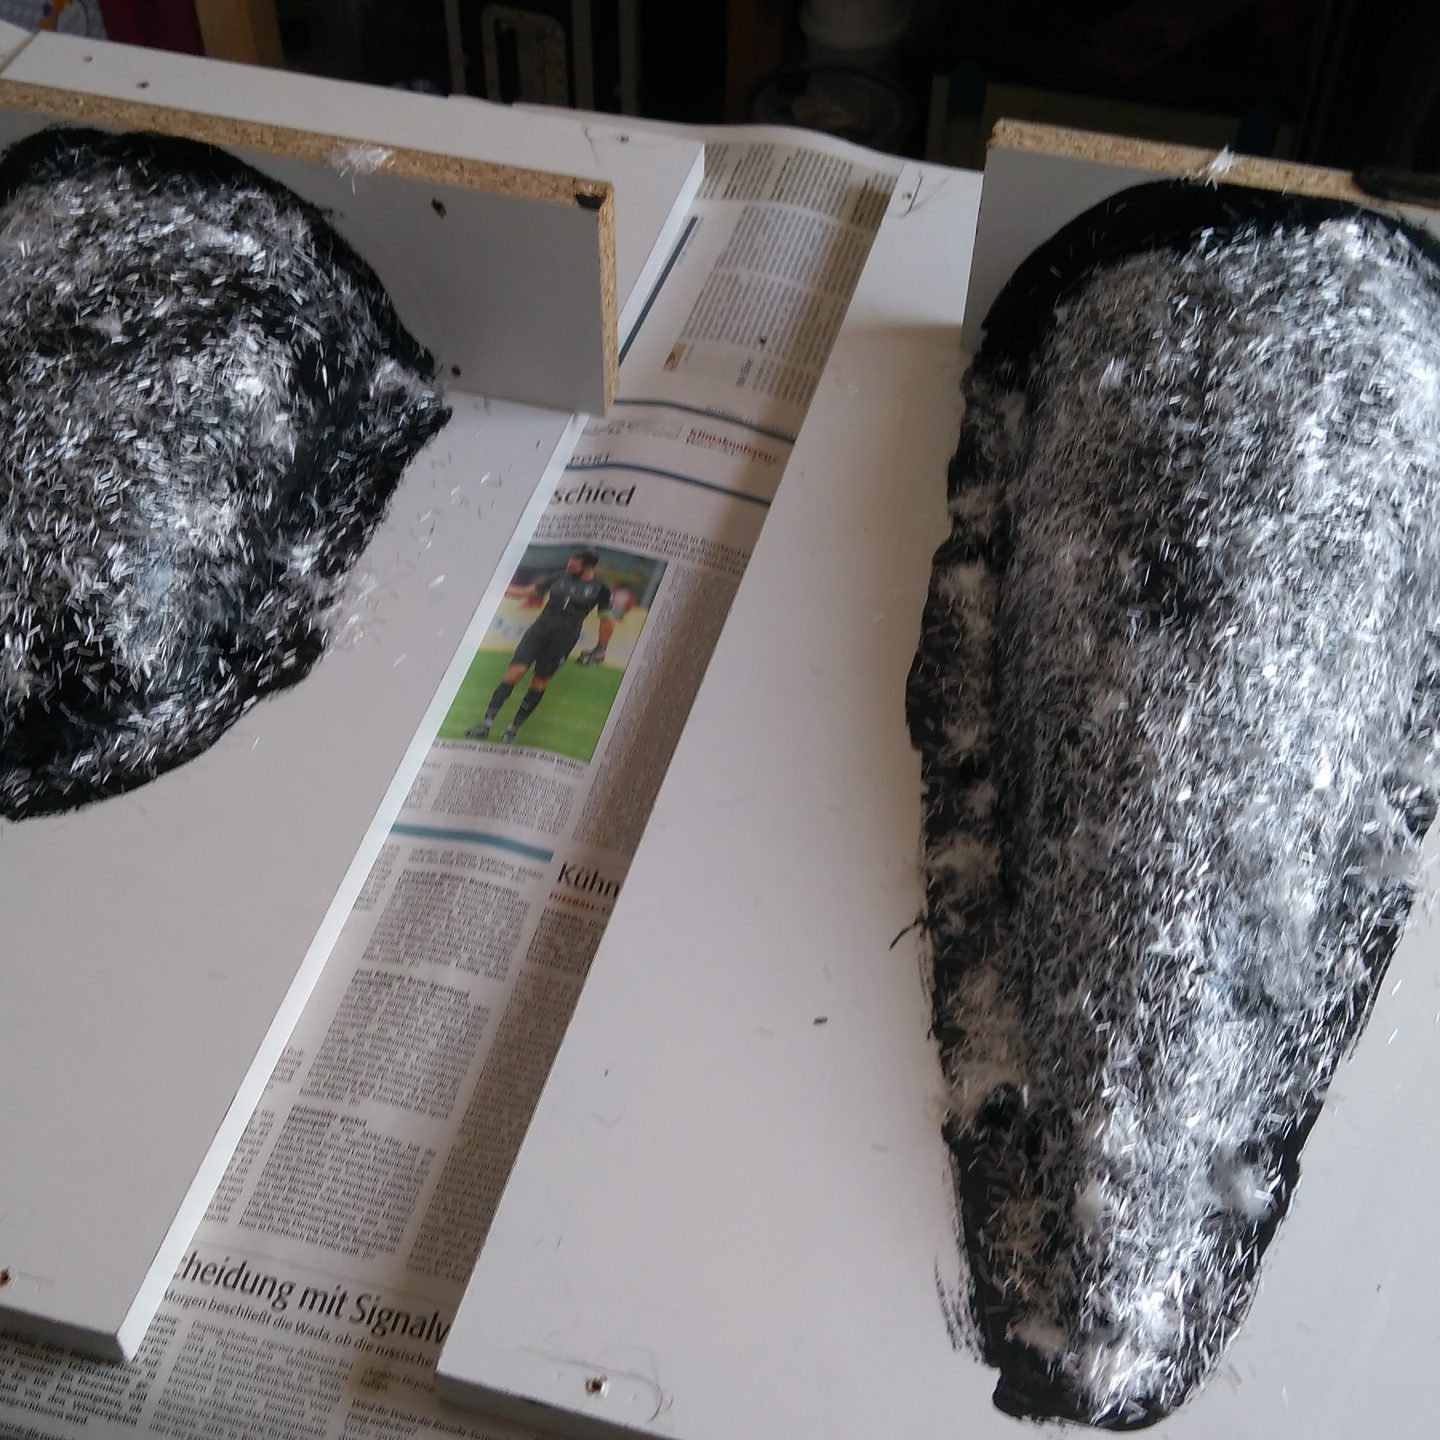
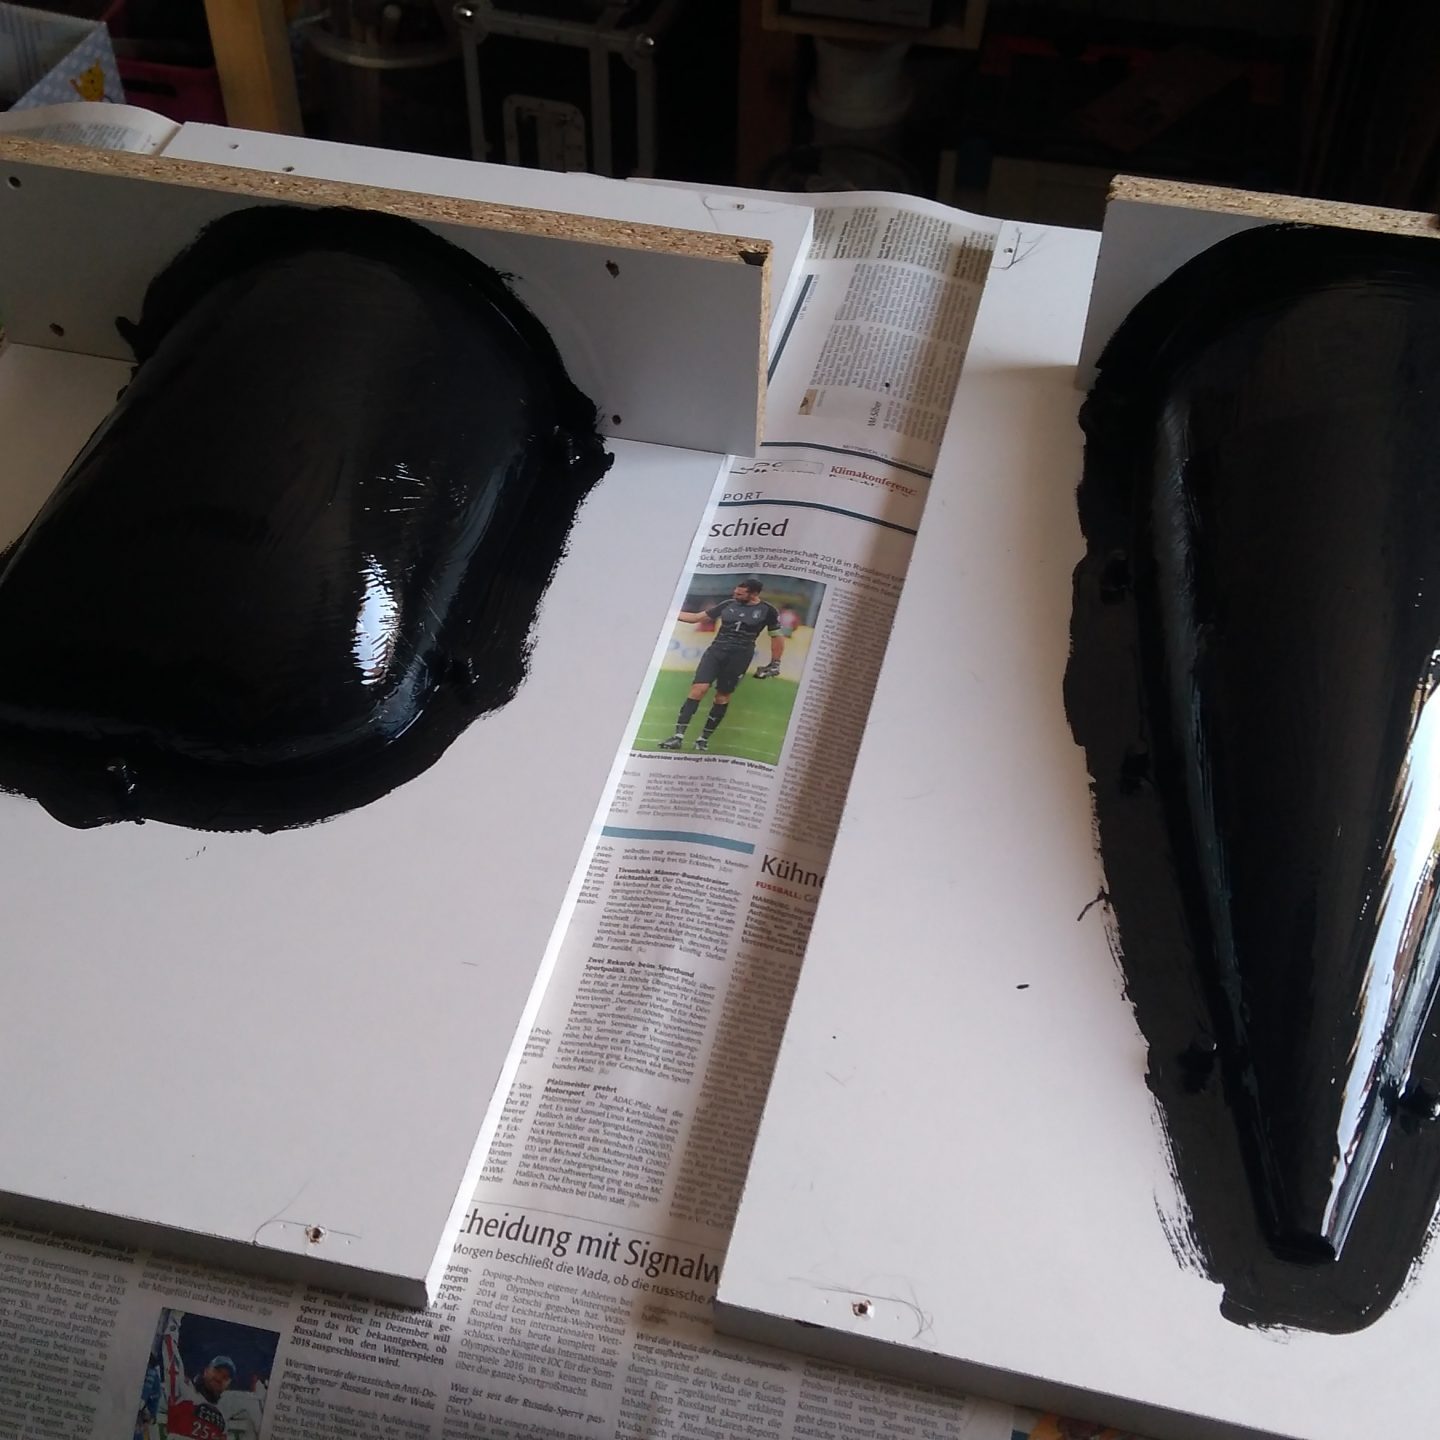
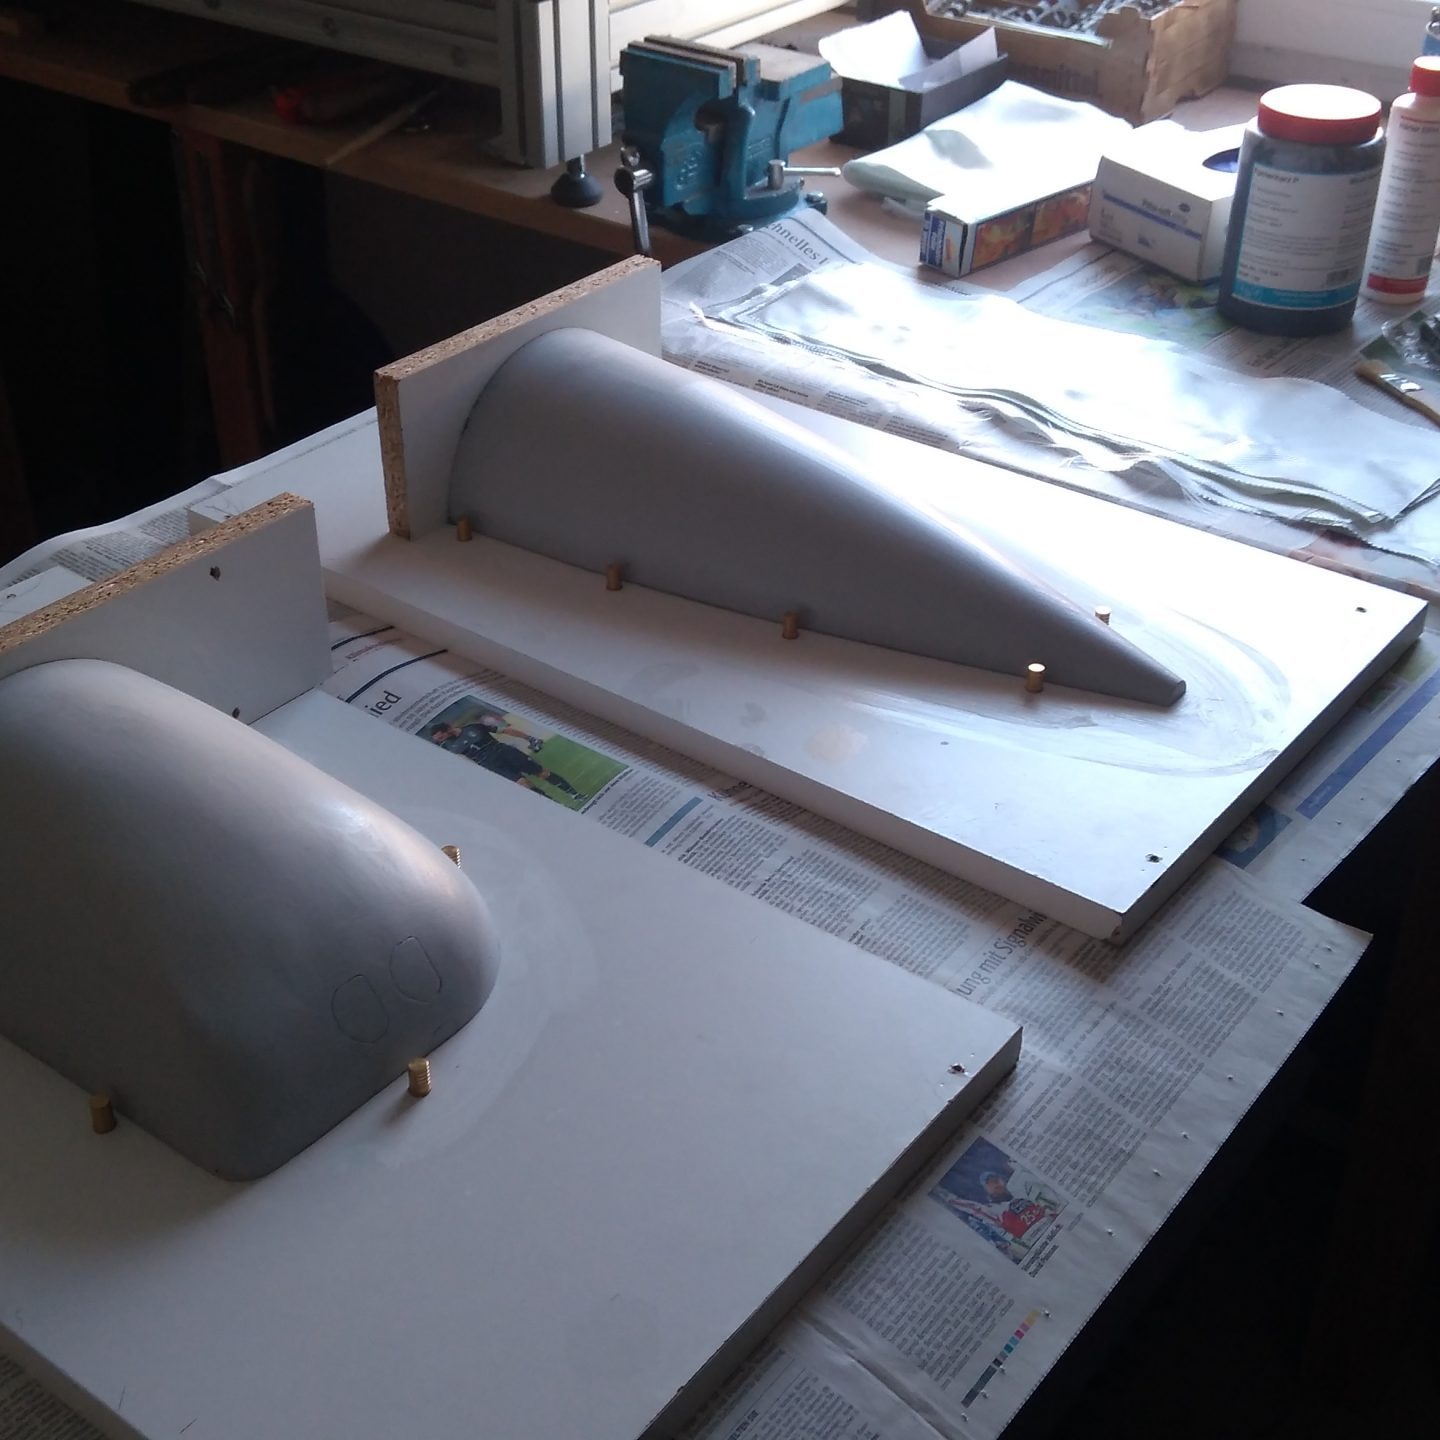
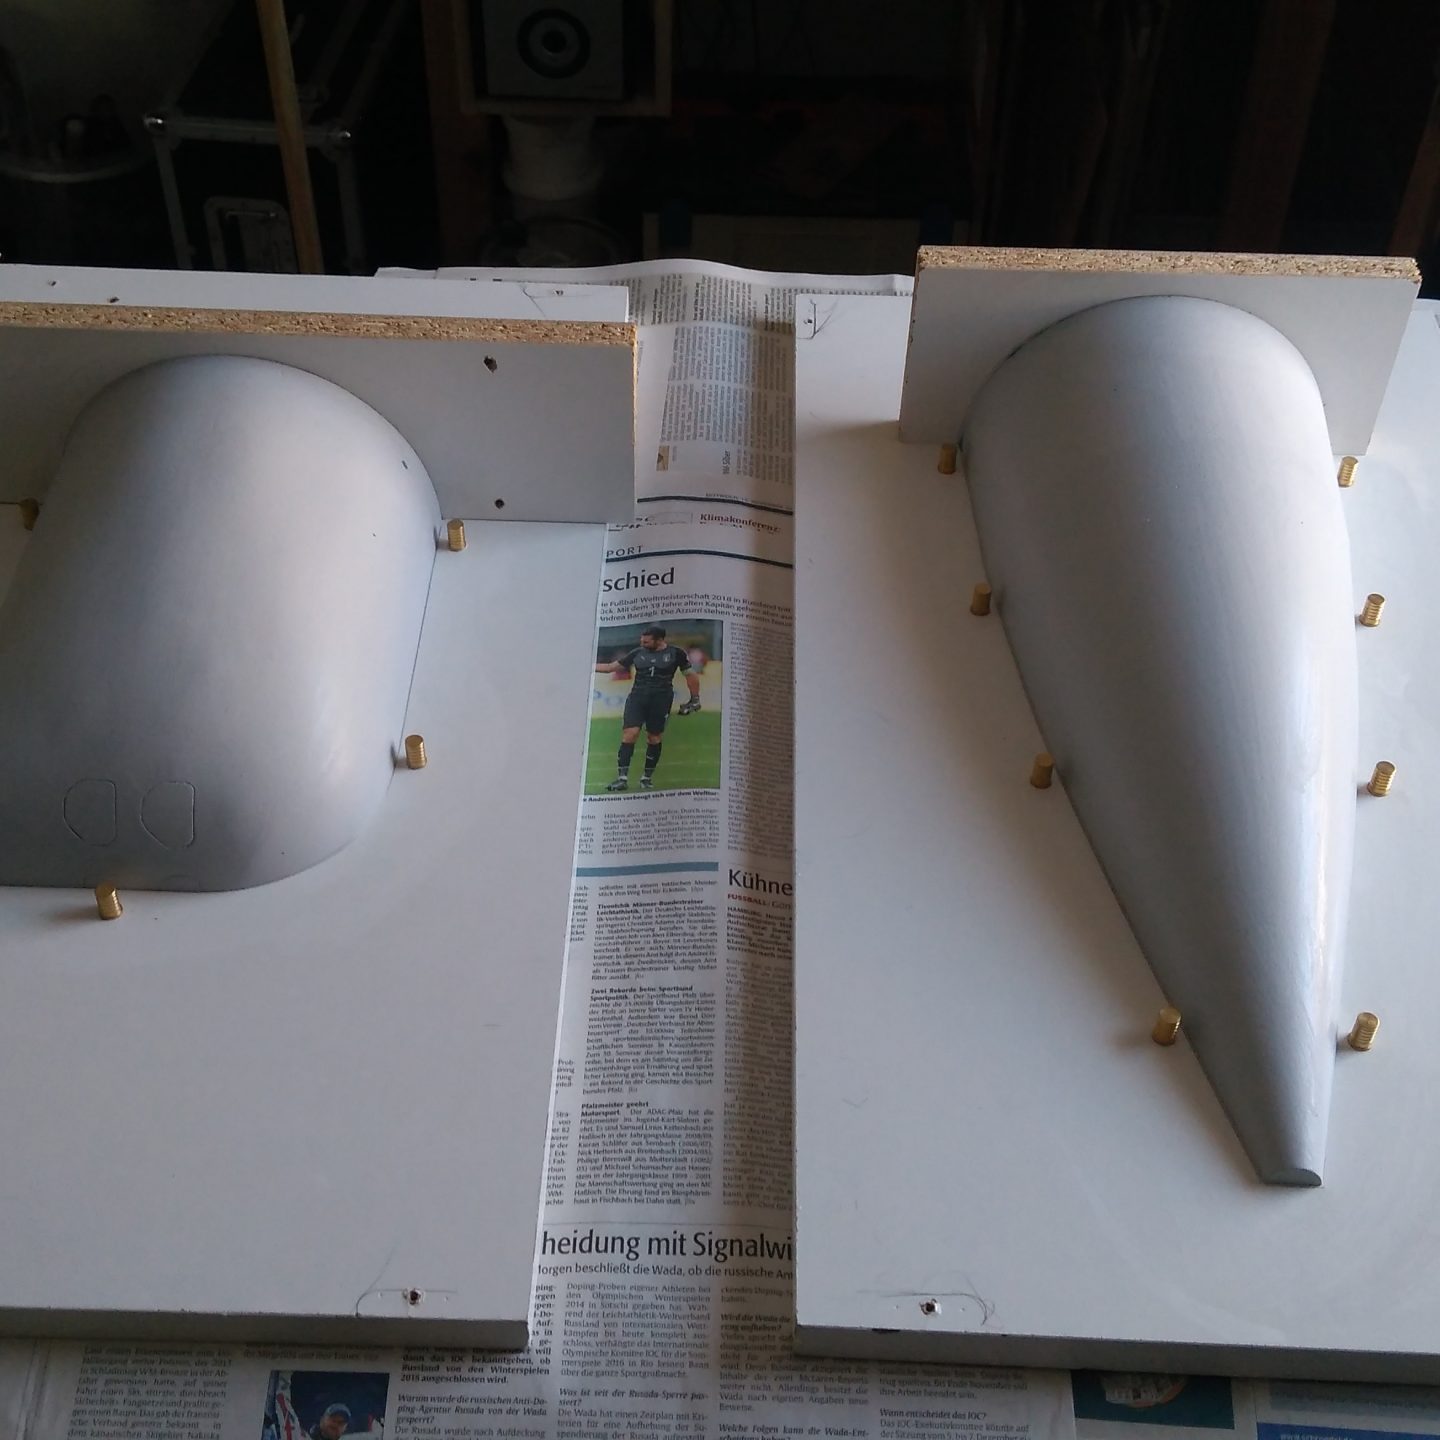
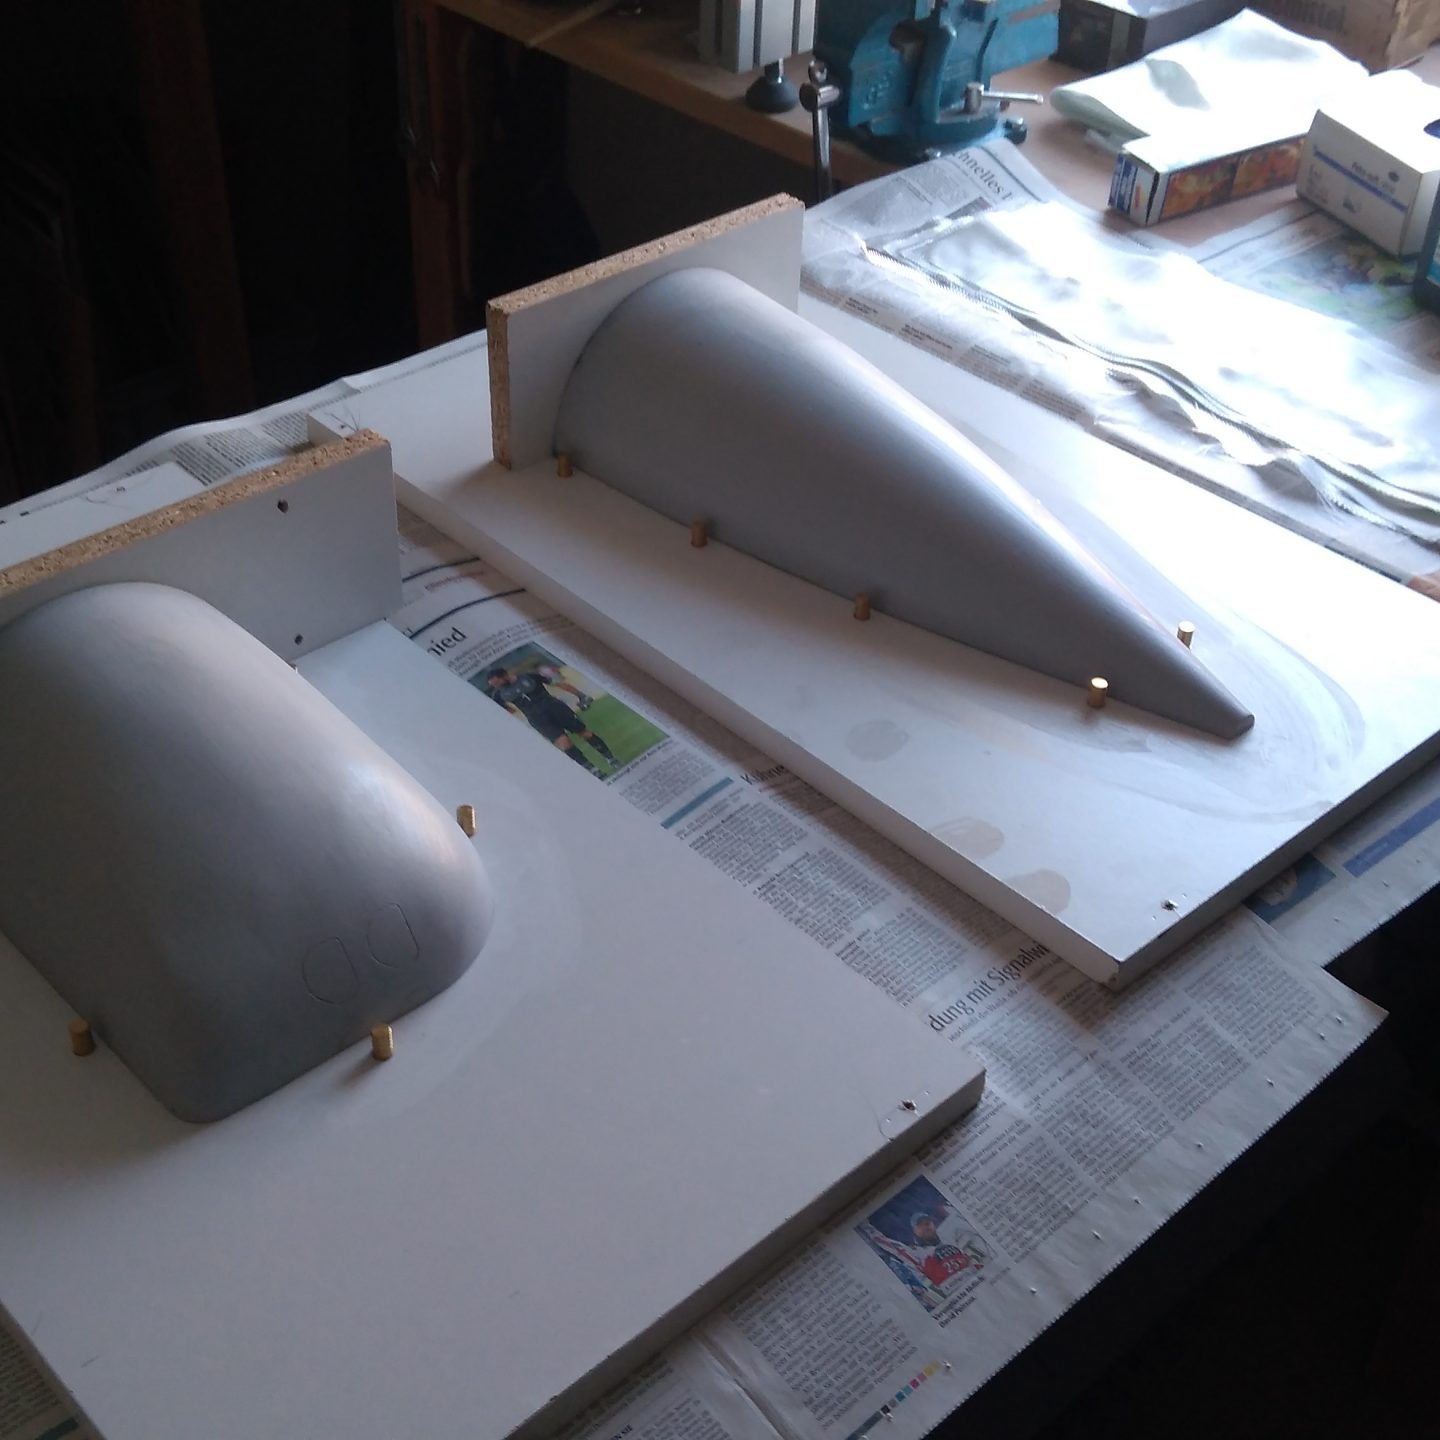
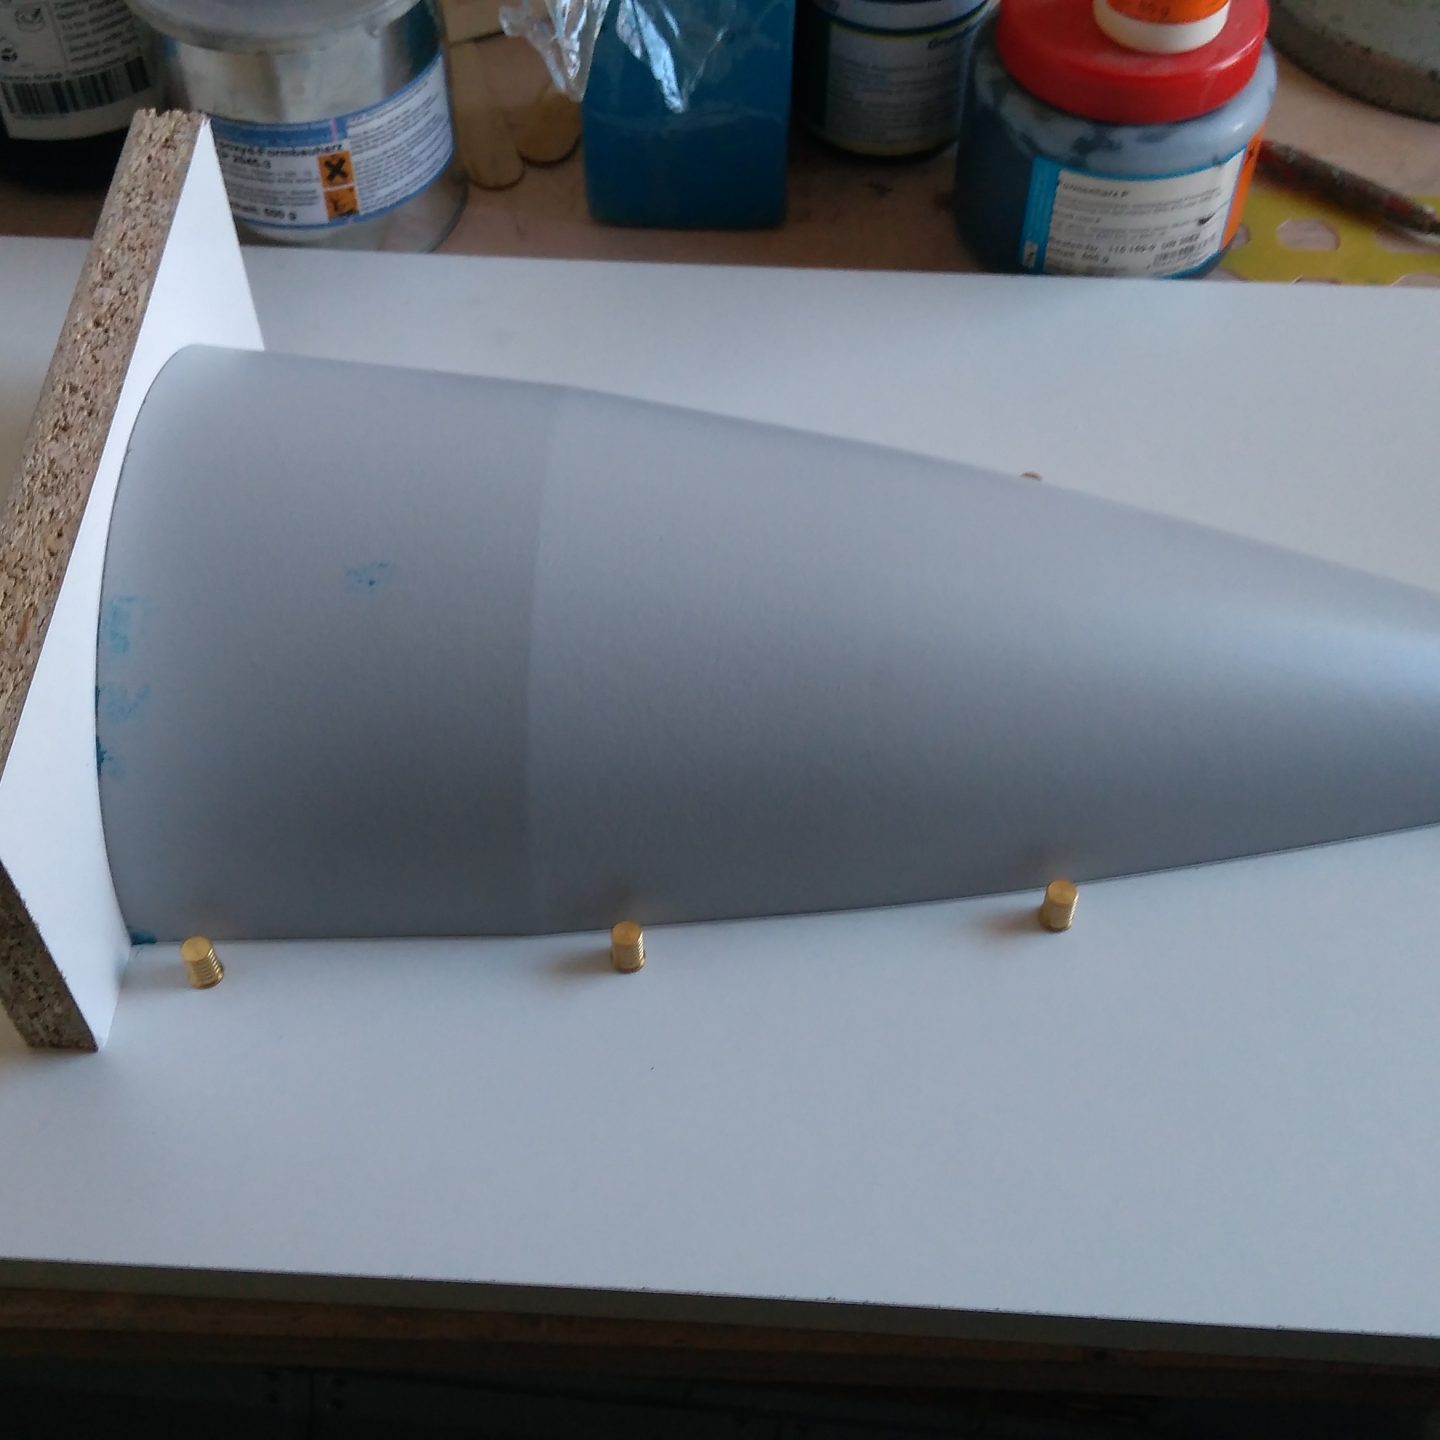
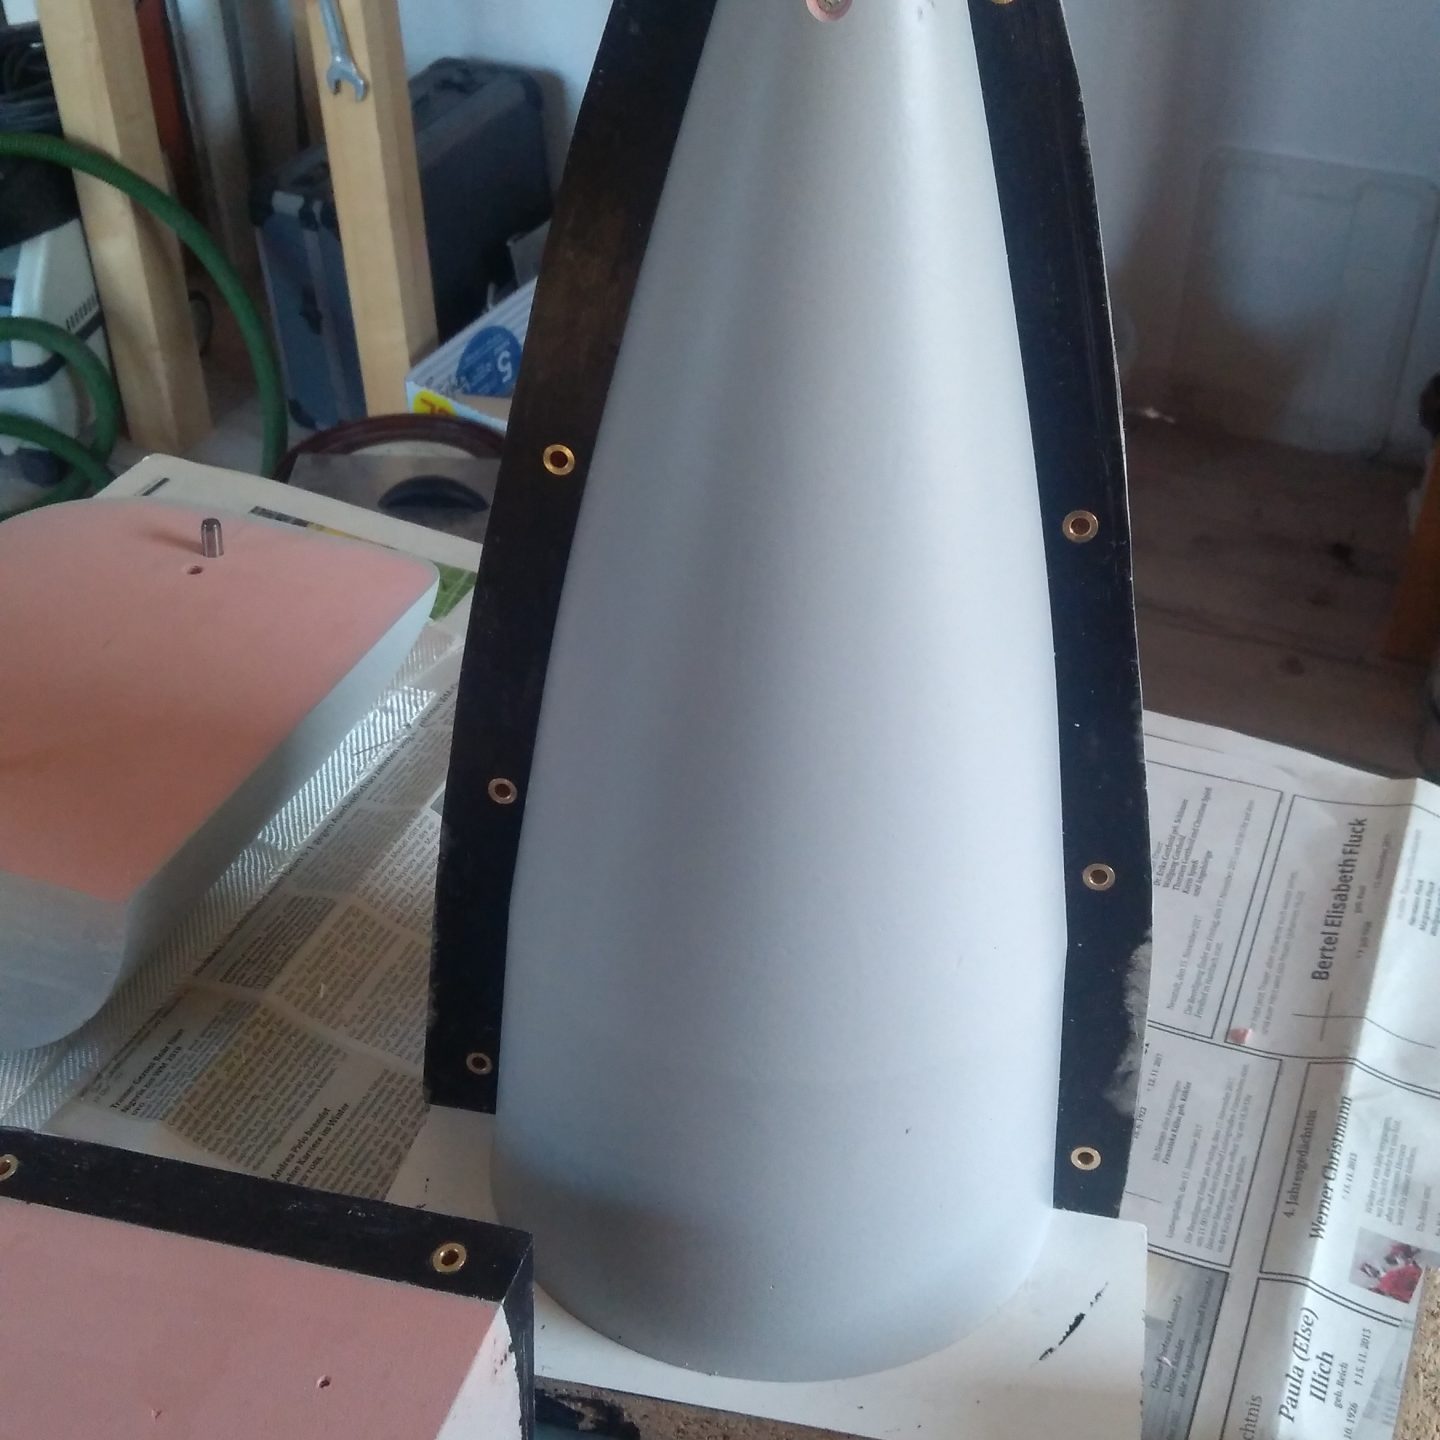
Der Bericht zeigt das laminieren einer Form am Beispiel des Bug- und Heckteils der TR1700. Die Urmodellhälften wurden mehrfach Lackiert um die Poren des Schaumes zu schließen. Anschließend konnten die Urmodelle eingewachst und poliert werden. Auf das Trennbrett sind zur sauberen Positionierung Messinghülsen aufgeklebt, die mit einlaminiert werden. Das Harz muss zwingend nach Herstellerangaben (Volumen oder Gewicht) gemischt werden. Es ist ebenfalls peinlichst genau darauf zu achten, das Harz und den Härter sauber zu durchmischen. Der Becherrand, der Boden und das Rührstäbchen sollten mehrfach abgestrichen und nochmals verrührt werden. KEINESFALLS mehr Härter hinzugeben, das beschleunigt NICHT die Aushärtung. Den Pinsel zum Auftragen habe ich um etwa die Hälfte gekürzt. Dadurch kann man besser tupfen. Es folgt eine Schicht Formharz. Dieses bildet die Oberfläche und ist sehr abriebfest und beständig. Da mehrere Rümpfe gebaut werden, sollte die Form eine gewisse Anzahl von Abformungen standhalten. Nach dem angelieren des Formharzes werden Glasfaserschnitzel in das noch nasse Harz eingestreut. Diese bilden die Kupplungsschicht zwischen Formharz und Laminat.
Preparation of the Master Models
The report illustrates the lamination of a mold using the example of the bow and stern parts of the TR1700. The master model halves were painted multiple times to seal the pores of the foam. Then, the master models could be waxed and polished. Brass sleeves were glued onto the separation board for precise positioning, and these would be laminated in as well. The resin must be mixed strictly according to the manufacturer’s instructions (either by volume or weight). It is also crucial to ensure that the resin and hardener are thoroughly mixed. The rim of the mixing cup, the bottom, and the stirring stick should be wiped clean multiple times and stirred again. UNDER NO CIRCUMSTANCES should more hardener be added, as this does NOT accelerate the curing process. I cut the brush for application by about half, which allows for better dabbing. A layer of mold resin is then applied. This forms the surface and is very abrasion-resistant and durable. Since multiple hulls will be built, the mold should withstand a certain number of reproductions. After the mold resin begins to gel, fiberglass shavings are sprinkled into the still wet resin. These form the coupling layer between the mold resin and the laminate.
Laminat
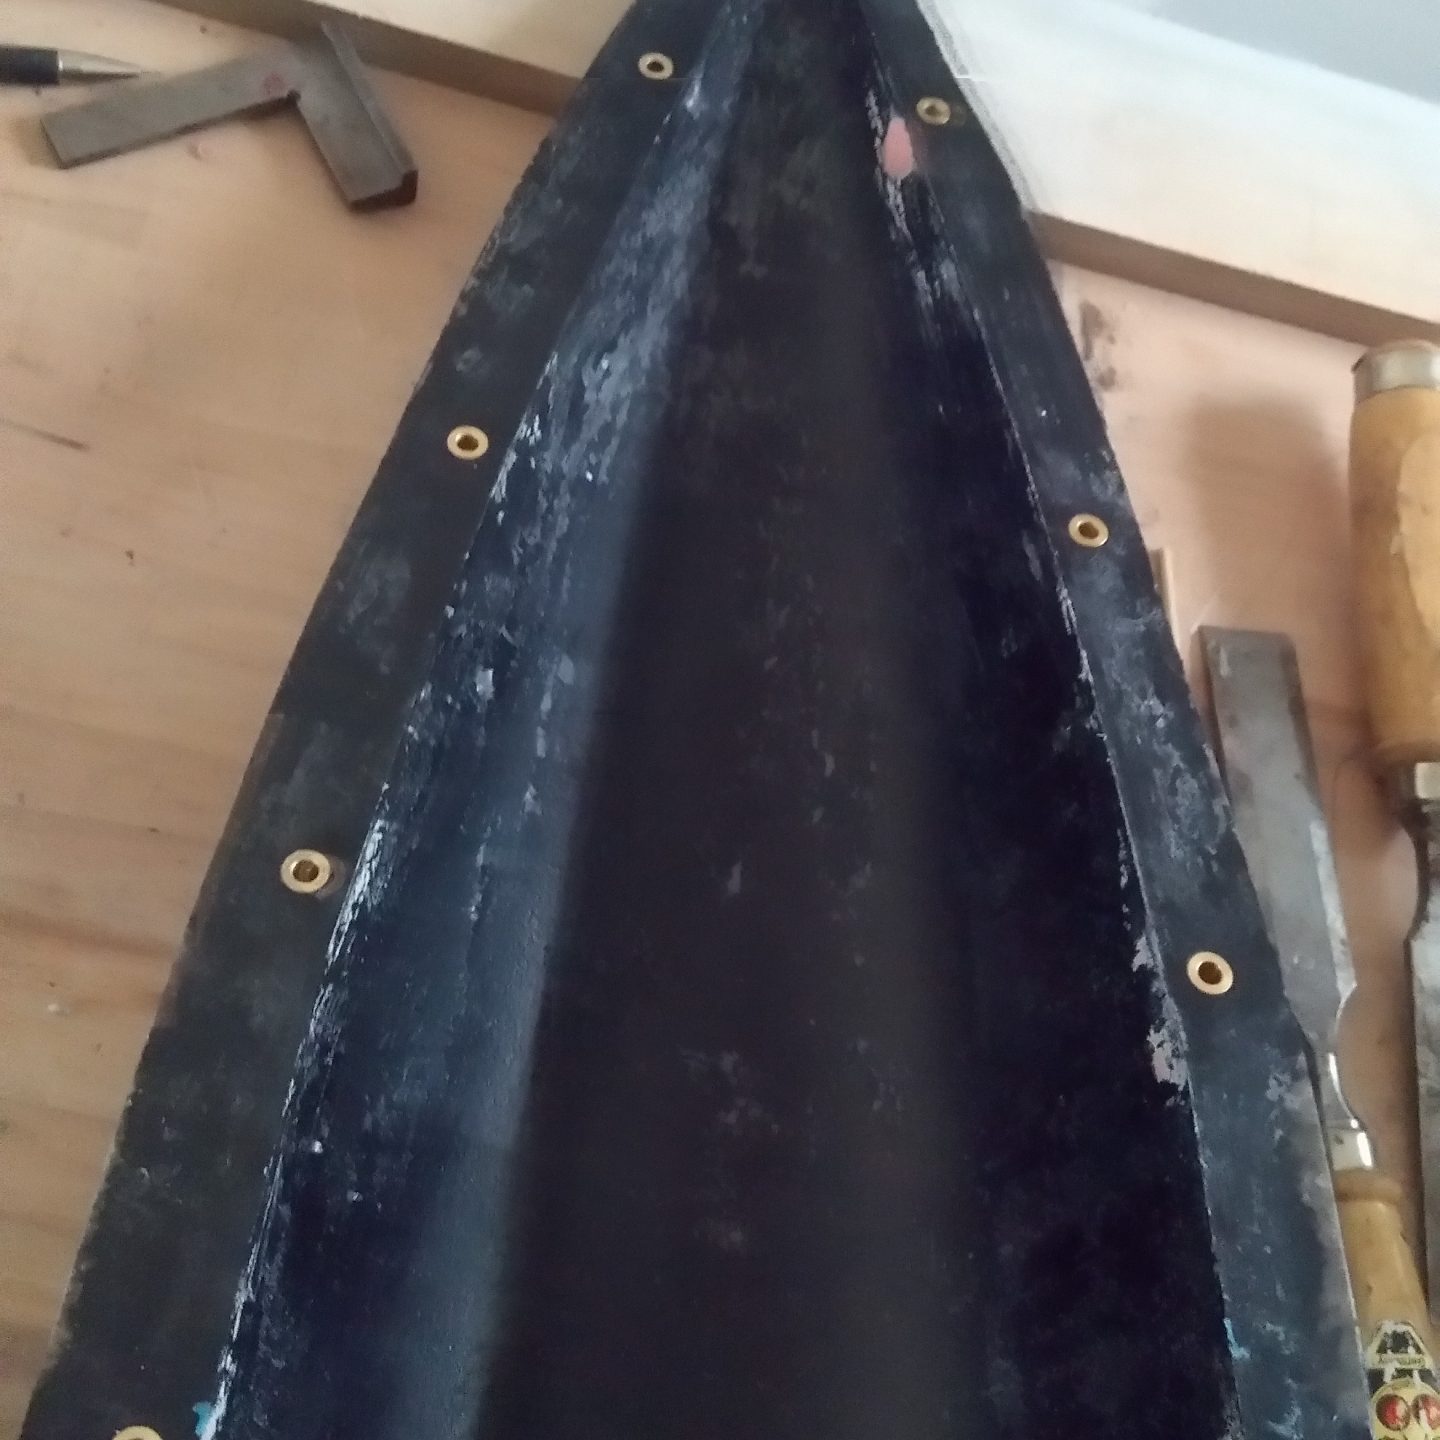
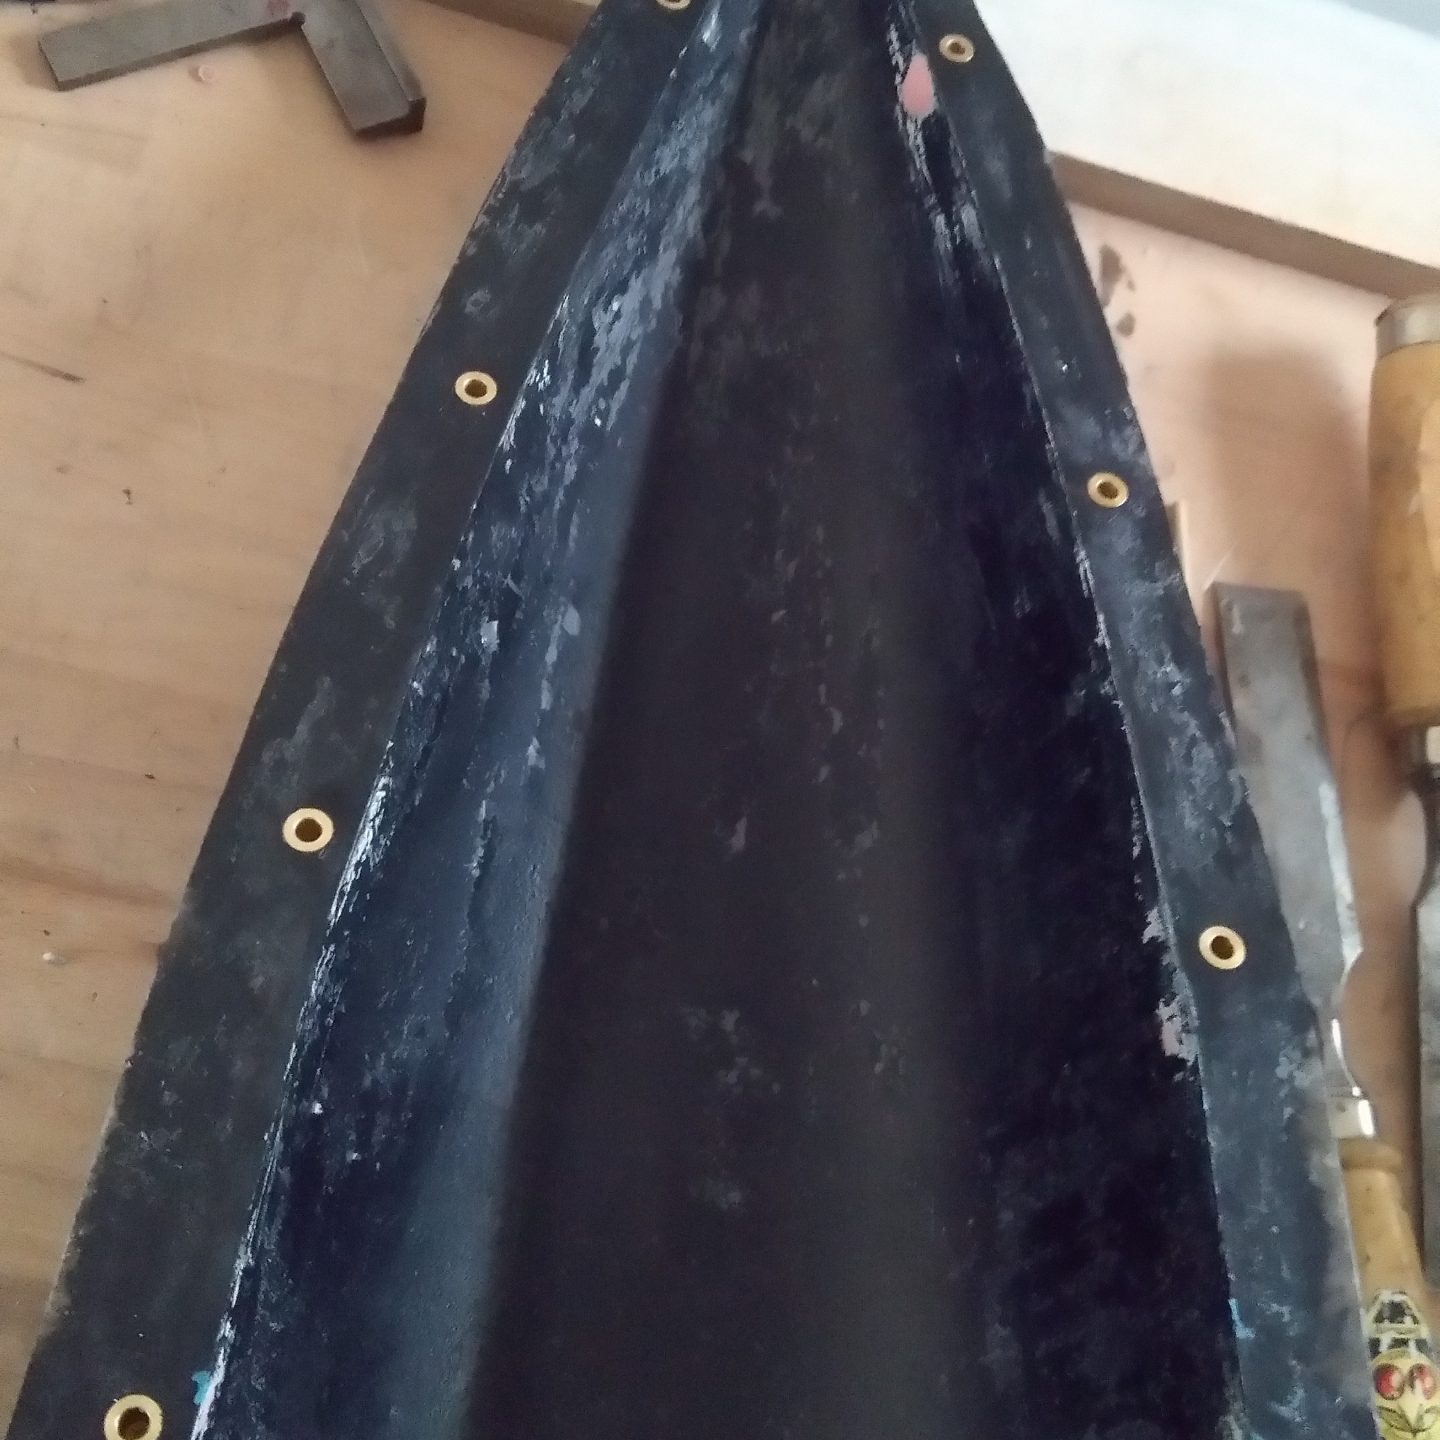
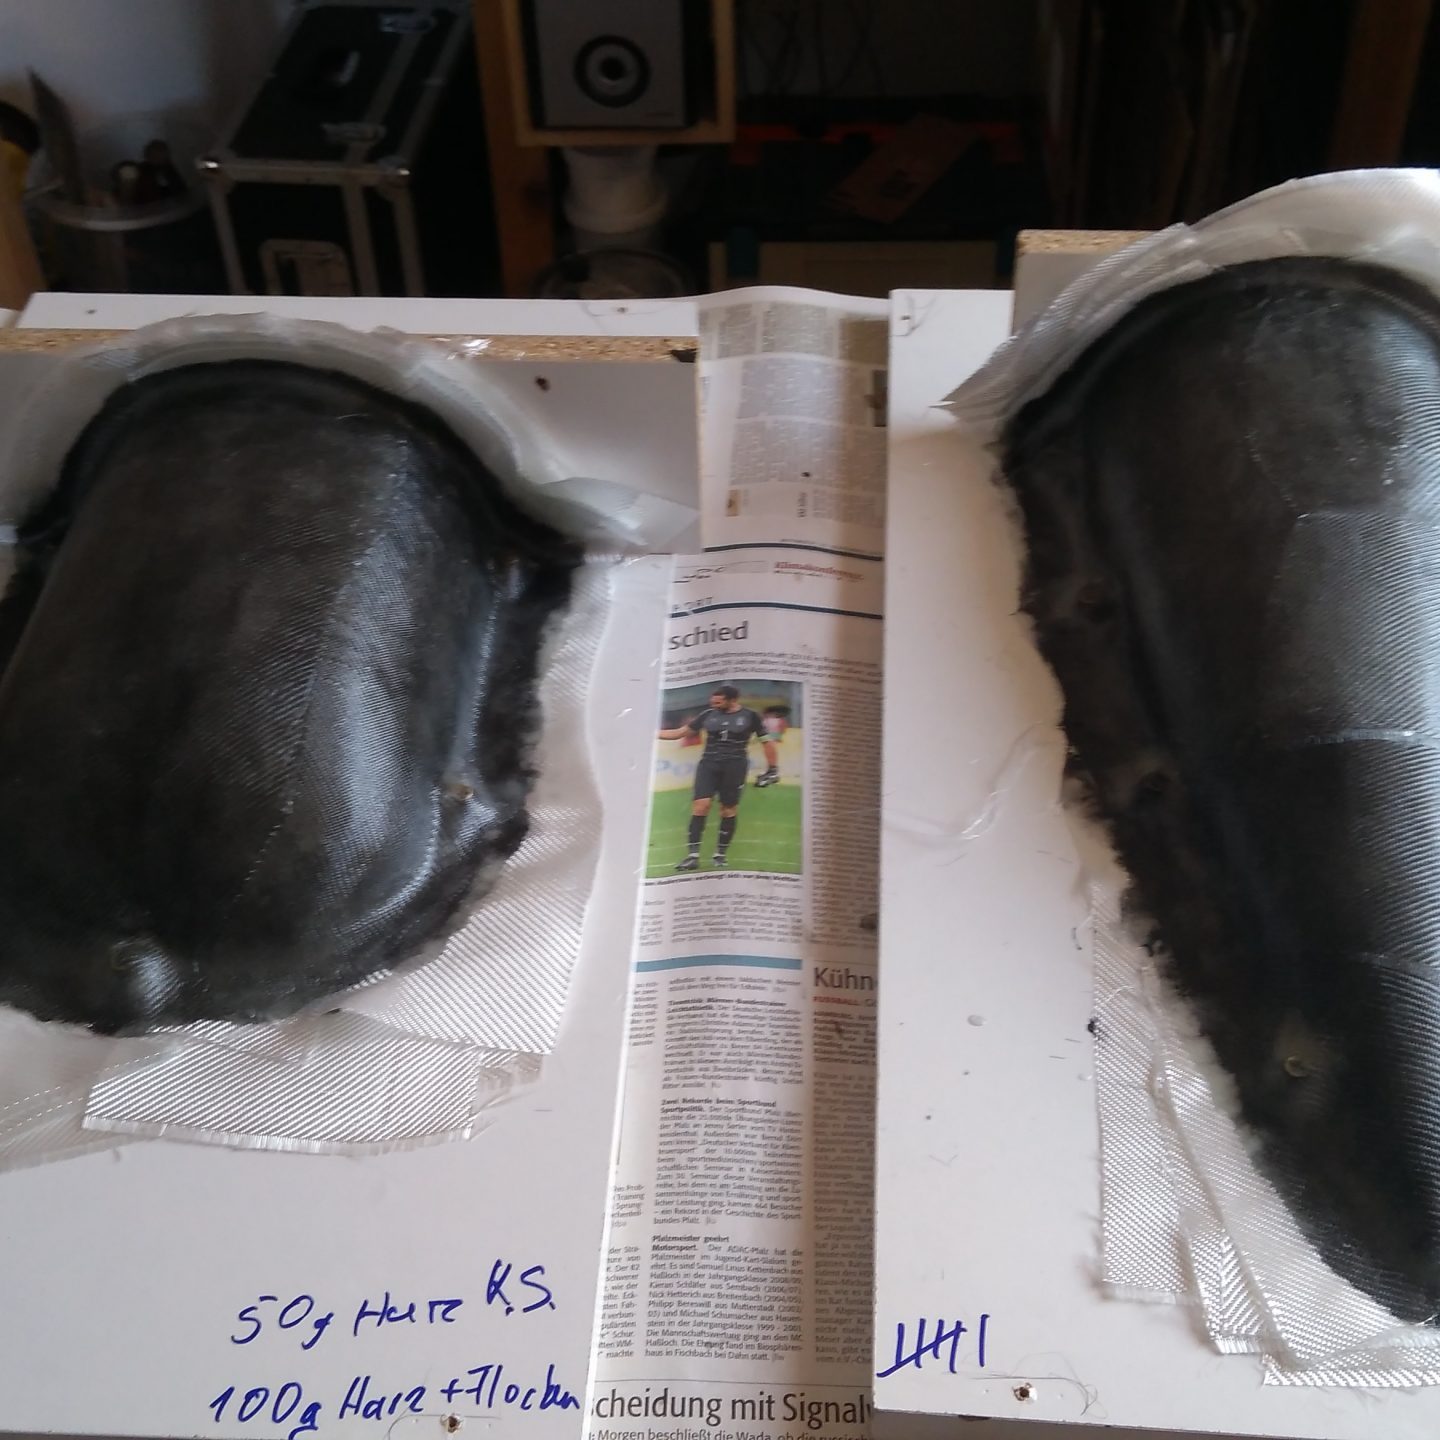
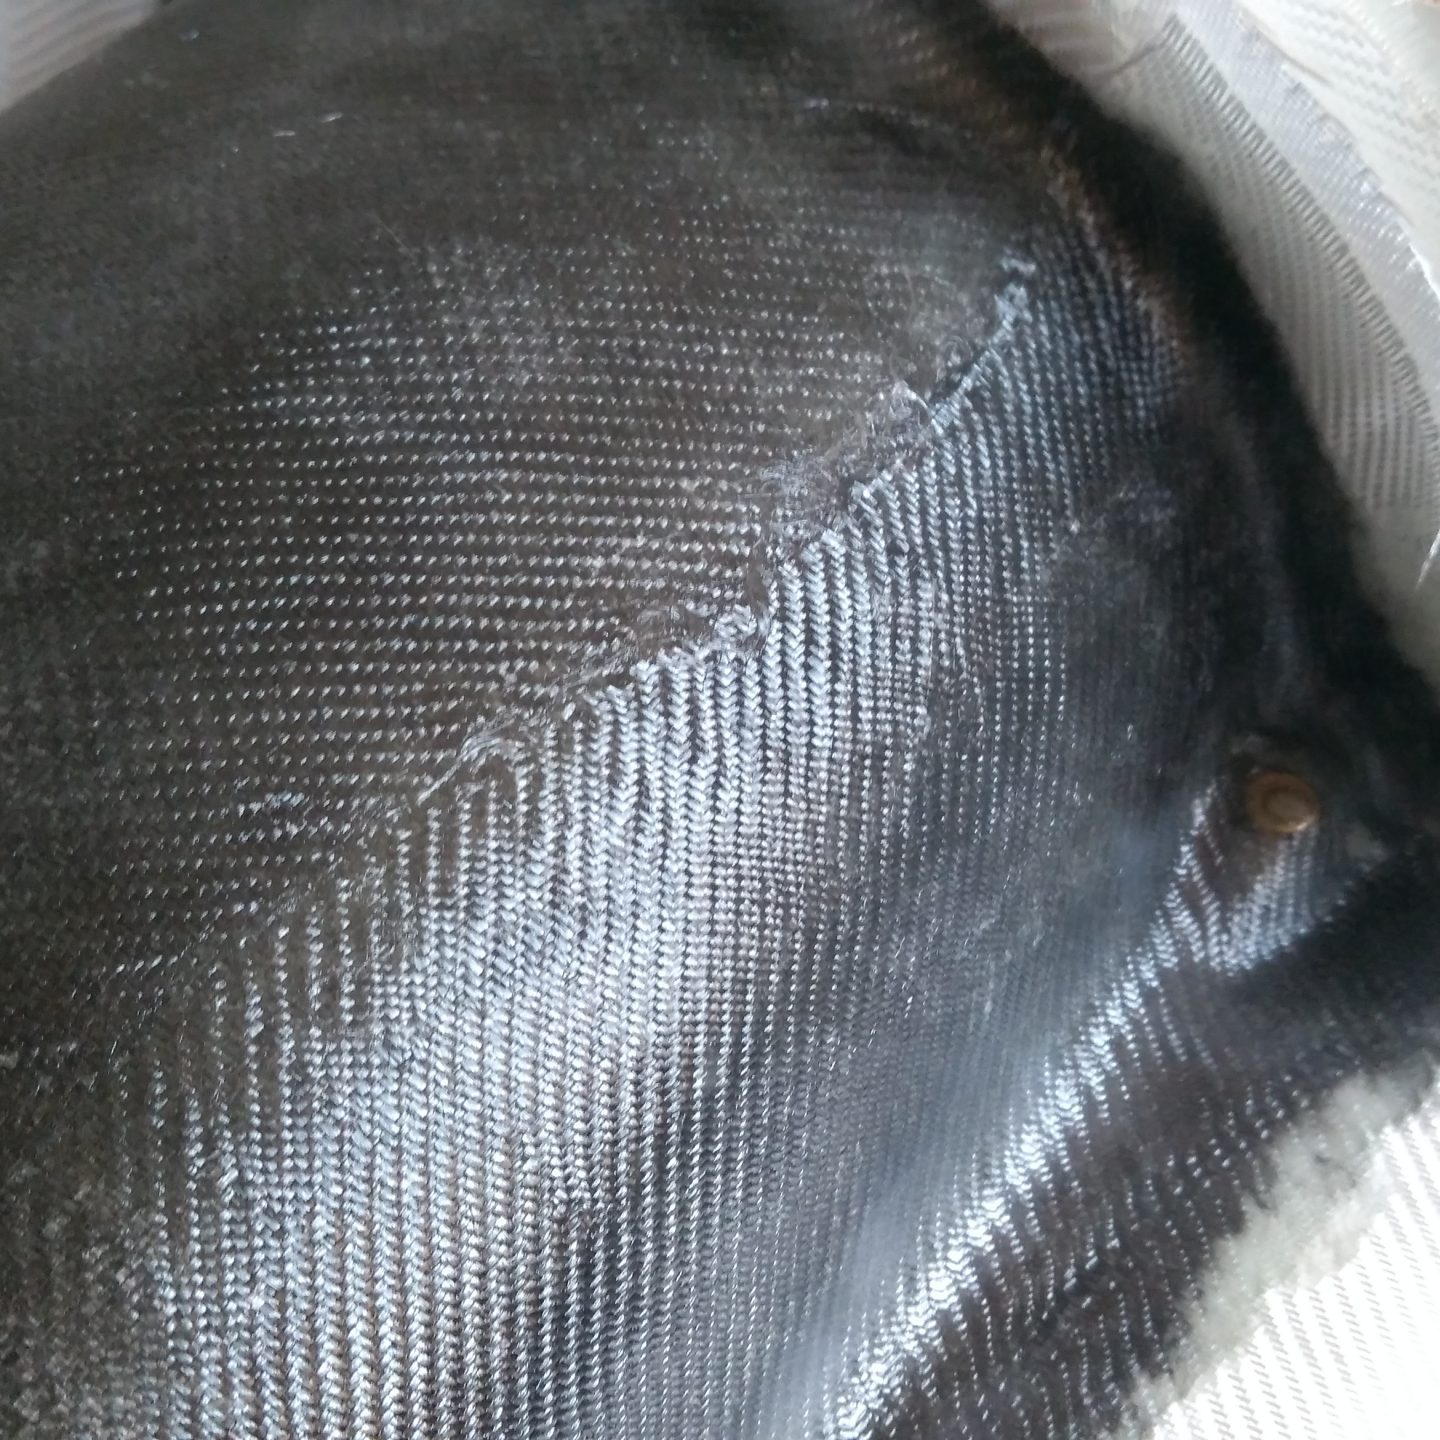
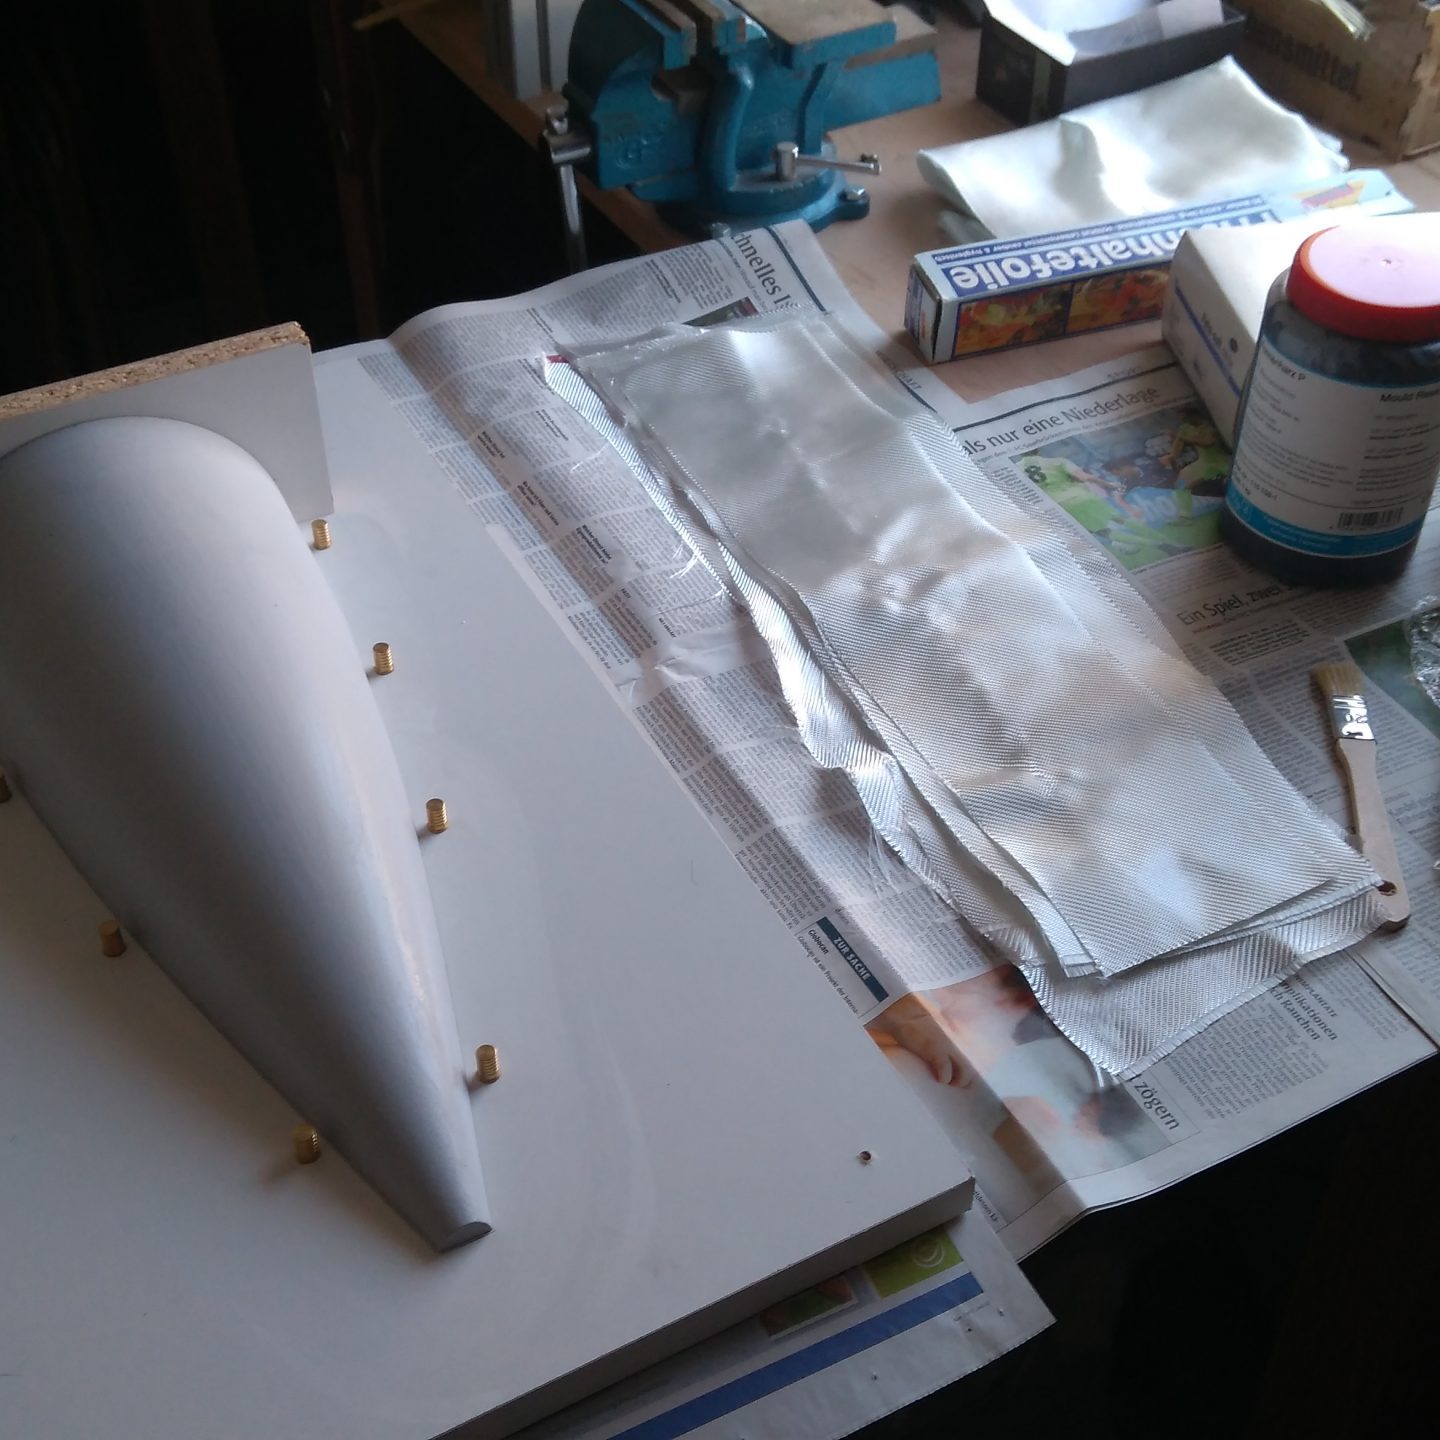
Nun kann mit dem eigentlichen Laminieren begonnen werden. Die zuvor zugeschnittenen Gewebestücke werden aufgelegt und mit Harz bestrichen. Es ist darauf zu achten, dass die Oberfläche nicht tropfnass ist, sondern nur matt und gleichmäßig von Harz durchtränkt ist. Die Arbeitsschritte müssen unbedingt nass in nass erfolgen, sonst verbinden sich die einzelnen Schichten nicht sauber untereinander. Scharfe Ecken oder Kanten sind beim laminieren immer ein Problem, da sich das Gewebe nicht in Ecken legt. Daher mischt man einen kleinen Teil Harz mit Baumwollflocken, bis eine zähe Masse entsteht. Sie ist gut gemischt wenn sie nicht mehr vom Rührstäbchen läuft (Tixotropie). Das ganze wird Sorgfältig in die Kanten eingebracht.
Viel Erfolg!
Laminating
Now, the actual laminating process can begin. The previously cut pieces of fabric are laid out and coated with resin. It’s important to ensure that the surface is not dripping wet but rather uniformly and evenly saturated with resin. The steps must be carried out wet-on-wet, otherwise, the individual layers won’t bond cleanly together. Sharp corners or edges are always a challenge when laminating because the fabric doesn’t conform well to corners. Therefore, a small amount of resin is mixed with cotton flock until a viscous mass is formed. It’s well mixed when it no longer drips from the stirring stick (thixotropy). Carefully apply this mixture to the edges.
Wishing you success!


